
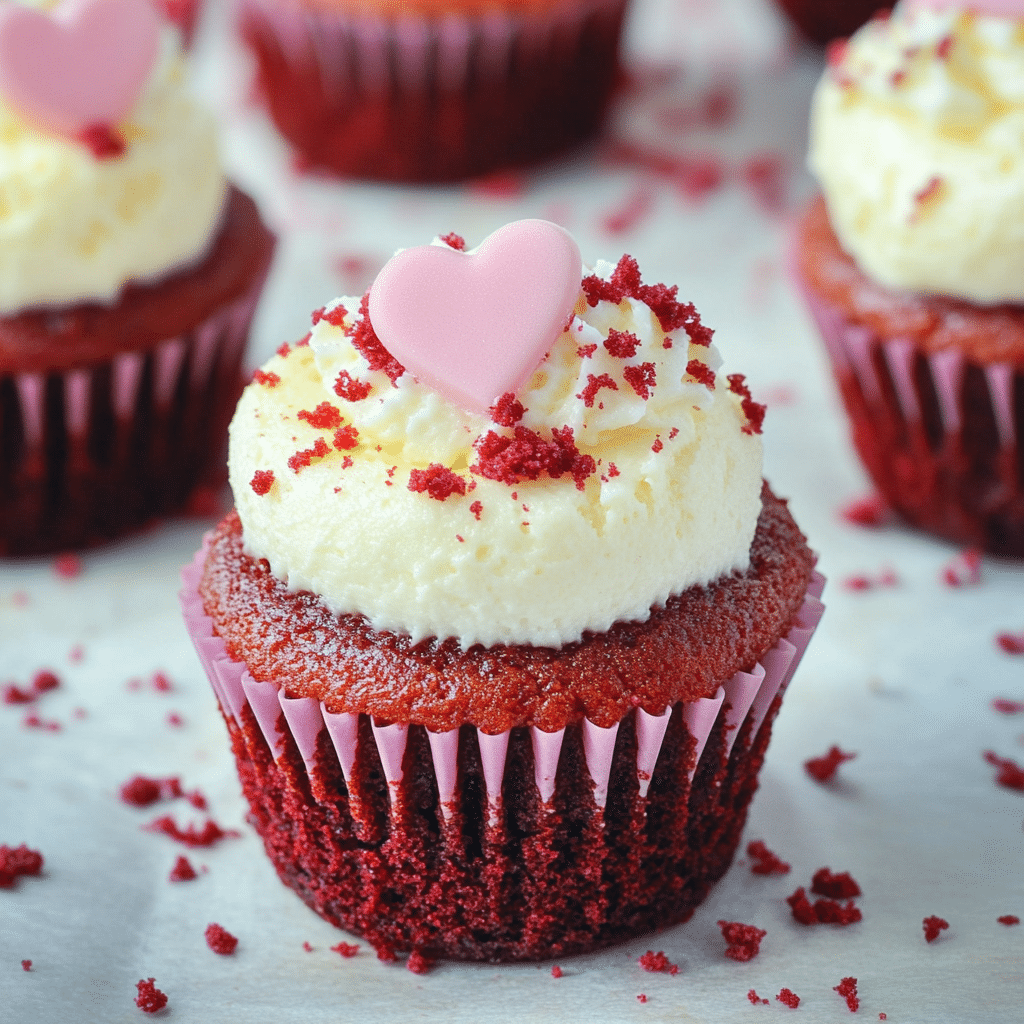
Red Velvet Cheesecake Cupcakes are a delightful combination of two classic desserts: velvety red velvet cake and creamy cheesecake. These rich and indulgent treats are perfect for any special occasion or when you just need a little sweetness in your life.
Why You’ll Love This Recipe
- Combines two favorite desserts in one bite-sized treat.
- Perfect balance of tangy cheesecake and sweet red velvet.
- Ideal for parties, gatherings, or as a gift.
- Easy to make with simple ingredients.
- They look stunning and taste as good as they look!
Ingredients
(Tip: You’ll find the full list of ingredients and measurements in the recipe card below.)
- All-purpose flour
- Cocoa powder
- Baking soda
- Salt
- Unsalted butter
- Granulated sugar
- Eggs
- Buttermilk
- Red food coloring
- Vanilla extract
- Cream cheese
- Powdered sugar
Directions

- Prepare the cupcake batter: Preheat your oven and line a muffin tin with cupcake liners. In a bowl, mix the dry ingredients: flour, cocoa powder, baking soda, and salt. In another bowl, cream the butter and sugar until fluffy. Add the eggs, one at a time, followed by buttermilk, red food coloring, and vanilla extract. Gradually add the dry ingredients to the wet ingredients until combined.
- Make the cheesecake filling: Beat the cream cheese and powdered sugar until smooth.
- Assemble the cupcakes: Fill each cupcake liner about halfway with red velvet batter. Add a spoonful of cheesecake filling on top.
- Bake: Place the cupcakes in the preheated oven and bake until set.
- Cool and serve: Allow the cupcakes to cool completely before serving.
Servings and Timing
- Servings: Makes 12 cupcakes.
- Prep Time: 20 minutes
- Cook Time: 20-25 minutes
- Total Time: 45 minutes
Variations
- Chocolate Drizzle: Add a drizzle of melted chocolate on top for extra indulgence.
- Frosting: Top with cream cheese frosting or whipped cream for a bakery-style look.
- Mini Cupcakes: Use a mini muffin tin to make bite-sized versions.
- Different Colors: Substitute red food coloring with blue, green, or purple for a unique twist.
Storage/Reheating
- Storage: Store the cupcakes in an airtight container in the refrigerator for up to 5 days.
- Freezing: Wrap each cupcake individually in plastic wrap and freeze for up to 2 months. Thaw in the refrigerator overnight before serving.
- Reheating: These cupcakes are best served cold or at room temperature and don’t require reheating.
FAQs
1. Can I use natural food coloring?
Yes, natural food coloring can be used, though the red color may be less vibrant.
2. Can I make these cupcakes gluten-free?
Yes, substitute the all-purpose flour with a gluten-free flour blend.
3. How do I know when the cupcakes are done?
Insert a toothpick into the cupcake portion (not the cheesecake). If it comes out clean, they’re done.
4. Can I use oil instead of butter?
Yes, vegetable oil can be substituted, but the texture might be slightly different.
5. Can I skip the food coloring?
Absolutely, though the cupcakes won’t have the classic red velvet look.
6. Can I make these in advance?
Yes, you can make them a day or two ahead and store them in the refrigerator.
7. Can I use low-fat cream cheese?
Low-fat cream cheese can be used, but full-fat cream cheese yields a creamier filling.
8. Can I add nuts to the batter?
Yes, chopped pecans or walnuts can be added for extra texture.
9. Can I double the recipe?
Yes, simply double all the ingredients to make a larger batch.
10. What if I don’t have buttermilk?
You can make your own by mixing 1 tablespoon of vinegar or lemon juice with 1 cup of milk.
Conclusion
Red Velvet Cheesecake Cupcakes are the ultimate indulgence for dessert lovers. Whether you’re hosting a party, celebrating a special event, or just treating yourself, these cupcakes are sure to impress. Their unique blend of flavors and textures makes them a standout dessert that everyone will adore.
Print
Red Velvet Cheesecake Cupcakes
Description
Red Velvet Cheesecake Cupcakes combine the rich flavors of red velvet cake with a creamy cheesecake center, all topped with luscious cream cheese frosting. They’re perfect for special occasions or whenever you’re craving a decadent treat. Here’s how to make them:
Ingredients
For the Red Velvet Cupcakes:
- 2 1/2 cups all-purpose flour
- 1 1/2 cups granulated sugar
- 2 tablespoons unsweetened cocoa powder
- 1 teaspoon baking soda
- 1 teaspoon salt
- 2 large eggs, at room temperature
- 1 cup vegetable oil
- 1 cup buttermilk, at room temperature
- 2 tablespoons red food coloring
- 1 teaspoon vanilla extract
- 1 teaspoon white vinegar
For the Cheesecake Filling:
- 8 ounces cream cheese, softened
- 1/3 cup granulated sugar
- 1 large egg, at room temperature
- 1 teaspoon vanilla extract
For the Cream Cheese Frosting:
- 8 ounces cream cheese, softened
- 1/2 cup (1 stick) unsalted butter, softened
- 4 cups powdered sugar
- 1 teaspoon vanilla extract
- Pinch of salt
Instructions
- Prepare the Cupcake Batter:
- Preheat your oven to 350°F (175°C). Line a muffin tin with cupcake liners.
- In a medium bowl, whisk together the flour, sugar, cocoa powder, baking soda, and salt.
- In a separate large bowl, whisk together the eggs, vegetable oil, buttermilk, red food coloring, vanilla extract, and white vinegar until well combined.
- Gradually add the dry ingredients to the wet ingredients, mixing until just combined. Be careful not to overmix.
- Prepare the Cheesecake Filling:
- In a medium bowl, beat the softened cream cheese until smooth.
- Add the sugar, egg, and vanilla extract, and continue to beat until the mixture is creamy and well combined.
- Assemble the Cupcakes:
- Spoon about 2 tablespoons of red velvet batter into each cupcake liner, filling them about one-third full.
- Add a heaping tablespoon of the cheesecake filling on top of the red velvet batter in each liner.
- Top with another tablespoon of red velvet batter, covering the cheesecake filling. Each liner should be about two-thirds full.
- Bake:
- Bake the cupcakes in the preheated oven for 18-20 minutes, or until a toothpick inserted into the red velvet portion comes out clean.
- Allow the cupcakes to cool in the pan for about 5 minutes, then transfer them to a wire rack to cool completely.
- Prepare the Cream Cheese Frosting:
- In a large bowl, beat the softened cream cheese and butter together until light and fluffy.
- Gradually add the powdered sugar, one cup at a time, beating well after each addition.
- Add the vanilla extract and a pinch of salt, and continue to beat until the frosting is smooth and creamy.
- Frost the Cupcakes:
- Once the cupcakes are completely cooled, frost them with the cream cheese frosting using a piping bag or a spatula.
- For a decorative touch, you can use a piping tip to create swirls and add sprinkles or red velvet crumbs on top.
Notes
- Ensure all refrigerated ingredients are at room temperature before starting to achieve a smoother batter and frosting.
- If you don’t have buttermilk, you can make a substitute by adding 1 tablespoon of white vinegar or lemon juice to 1 cup of milk. Let it sit for 5-10 minutes before using.
- Store the cupcakes in an airtight container in the refrigerator for up to 3 days. Bring them to room temperature before serving for the best flavor and texture.
Your email address will not be published. Required fields are marked *