
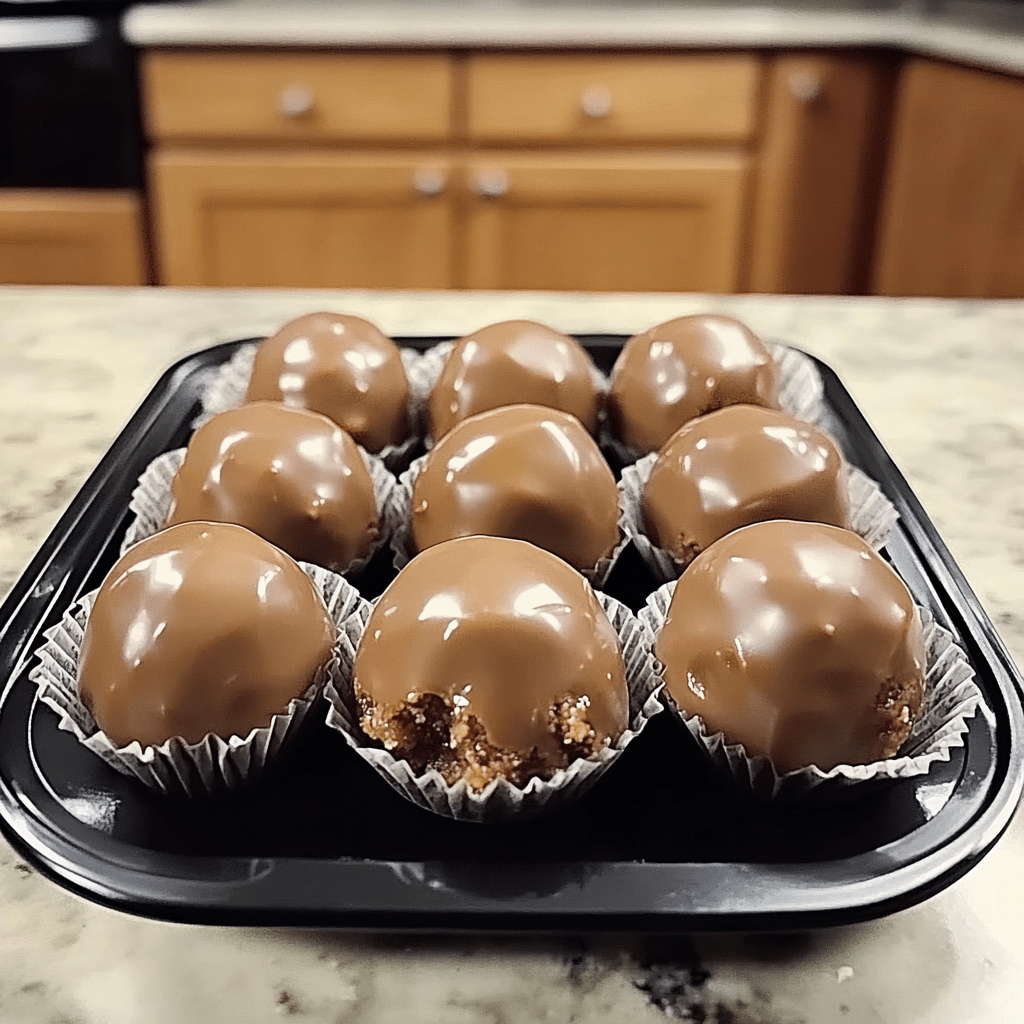
Butterfinger Balls are a delightful no-bake treat packed with the irresistible flavors of chocolate and peanut butter. These bite-sized goodies feature crushed Butterfinger candy bars mixed into a smooth peanut butter filling, then coated in a luscious chocolate shell. Perfect for parties, holidays, or just a sweet craving, these treats are easy to make and incredibly delicious.
Why You’ll Love This Recipe
- Easy to Make – No baking required, making it perfect for a quick dessert.
- Few Ingredients – Uses simple pantry staples.
- Crowd-Pleasing – A hit at gatherings, especially for Butterfinger lovers.
- Perfect for Gifting – Great for holiday treat boxes and special occasions.
- Freezer-Friendly – Make them ahead of time and enjoy them later.
Ingredients
(Tip: You’ll find the full list of ingredients and measurements in the recipe card below.)
- Butterfinger candy bars, crushed
- Creamy peanut butter
- Powdered sugar
- Unsalted butter, softened
- Vanilla extract
- Semi-sweet or milk chocolate chips
- Coconut oil or shortening (for smooth chocolate coating)
Directions

- Crush Butterfingers – Place Butterfinger bars in a zip-top bag and crush them into small pieces using a rolling pin.
- Mix Filling – In a large bowl, combine peanut butter, softened butter, powdered sugar, vanilla extract, and crushed Butterfingers. Stir until well blended.
- Shape the Balls – Roll the mixture into small balls and place them on a lined baking sheet. Chill in the refrigerator for about 30 minutes until firm.
- Melt Chocolate – In a microwave-safe bowl, melt chocolate chips with coconut oil in 30-second intervals, stirring until smooth.
- Dip and Coat – Using a fork or toothpick, dip each chilled peanut butter ball into the melted chocolate, ensuring it is fully coated. Let excess chocolate drip off.
- Set the Chocolate – Place the coated balls back on the lined baking sheet. Let them set at room temperature or refrigerate for faster hardening.
- Serve and Enjoy – Once the chocolate is firm, they are ready to eat!
Servings and Timing
- Servings: Makes about 24 Butterfinger Balls
- Prep Time: 15 minutes
- Chill Time: 30 minutes
- Total Time: 45 minutes
Variations
- White Chocolate Version – Swap out the semi-sweet chocolate for white chocolate for a sweeter, creamier version.
- Crunchy Peanut Butter – Use crunchy peanut butter instead of creamy for extra texture.
- Drizzle Decoration – After coating in chocolate, drizzle with melted white or dark chocolate for a fancy touch.
- Nut-Free Option – Substitute peanut butter with sunflower seed butter for an allergy-friendly version.
- Extra Crunch – Add crushed pretzels or Rice Krispies to the filling for additional crunch.
Storage/Reheating
- Refrigerator – Store in an airtight container in the fridge for up to 2 weeks.
- Freezer – Freeze for up to 3 months in a freezer-safe container. Thaw at room temperature before serving.
- Reheating (if needed) – These are best enjoyed cold or at room temperature, but if you prefer a softer texture, let them sit out for a few minutes before eating.
FAQs
How do I crush Butterfinger bars easily?
You can use a food processor or place them in a zip-top bag and crush them with a rolling pin.
Can I make these ahead of time?
Yes! These store well in the fridge or freezer, making them perfect for prepping in advance.
What type of chocolate is best for coating?
Semi-sweet or milk chocolate works great, but you can also use dark or white chocolate for variety.
How do I prevent the peanut butter balls from sticking to my hands?
Lightly dust your hands with powdered sugar or chill the mixture slightly before rolling.
Can I make these without peanut butter?
Yes, you can substitute peanut butter with almond butter, cashew butter, or sunflower seed butter.
Why is my chocolate coating too thick?
Add a little coconut oil or shortening to thin the chocolate for a smoother coating.
Do Butterfinger Balls need to be refrigerated?
Yes, they stay fresh longer when stored in the fridge due to the peanut butter and butter content.
Can I use crunchy Butterfinger pieces on top for decoration?
Absolutely! Sprinkle extra crushed Butterfinger pieces on top before the chocolate sets.
Are these gluten-free?
Butterfinger candy bars are gluten-free, but always check the labels to be sure.
Can I double the recipe?
Yes, just double all the ingredients and follow the same steps!
Conclusion
Butterfinger Balls are a simple, no-bake treat that delivers a perfect balance of creamy peanut butter, crunchy Butterfinger pieces, and rich chocolate. Whether you’re making them for a party, holiday, or just to satisfy a sweet craving, they are guaranteed to be a hit. Try different variations and enjoy these delicious homemade treats anytime!
Print
Butterfinger Balls
- Prep Time: 20 minutes
- Cook Time: 30 minutes
- Total Time: 50 minutes
- Yield: 24 balls 1x
- Category: Dessert, Snack
- Method: No-Bake
- Cuisine: American
- Diet: Vegetarian
Description
These Butterfinger Balls are a crunchy, chocolatey, and peanut buttery delight! Made with crushed Butterfinger candy bars, creamy peanut butter, and coated in rich melted chocolate, they’re the perfect bite-sized treat for holidays, parties, or anytime you need a sweet fix.
Ingredients
- 2 cups crushed Butterfinger candy bars (about 8 fun-size bars)
- 1 cup creamy peanut butter
- 1 cup powdered sugar
- 2 tablespoons unsalted butter, softened
- 2 cups semi-sweet or milk chocolate chips
- 1 tablespoon coconut oil or shortening (optional, for smoother chocolate)
Instructions
- Crush the Butterfingers – Place the candy bars in a zip-top bag and crush them with a rolling pin until finely crumbled. You can also pulse them in a food processor.
- Mix the Filling – In a large bowl, combine the crushed Butterfingers, peanut butter, powdered sugar, and softened butter. Mix well until fully combined.
- Shape the Balls – Roll the mixture into small balls (about 1 inch in diameter) and place them on a parchment-lined baking sheet. Freeze for 20-30 minutes to firm up.
- Melt the Chocolate – In a microwave-safe bowl, melt the chocolate chips in 30-second intervals, stirring in between until smooth. If needed, stir in coconut oil or shortening for a smoother consistency.
- Dip the Balls – Using a fork or a toothpick, dip each peanut butter ball into the melted chocolate, letting the excess drip off. Place back on the parchment paper.
- Set and Serve – Let the chocolate harden at room temperature or refrigerate for about 15 minutes. Enjoy!
Notes
- Store in an airtight container in the fridge for up to a week or freeze for longer storage.
- Use dark chocolate for a richer, less sweet version.
- Sprinkle extra crushed Butterfinger pieces on top before the chocolate sets for extra crunch!
Your email address will not be published. Required fields are marked *