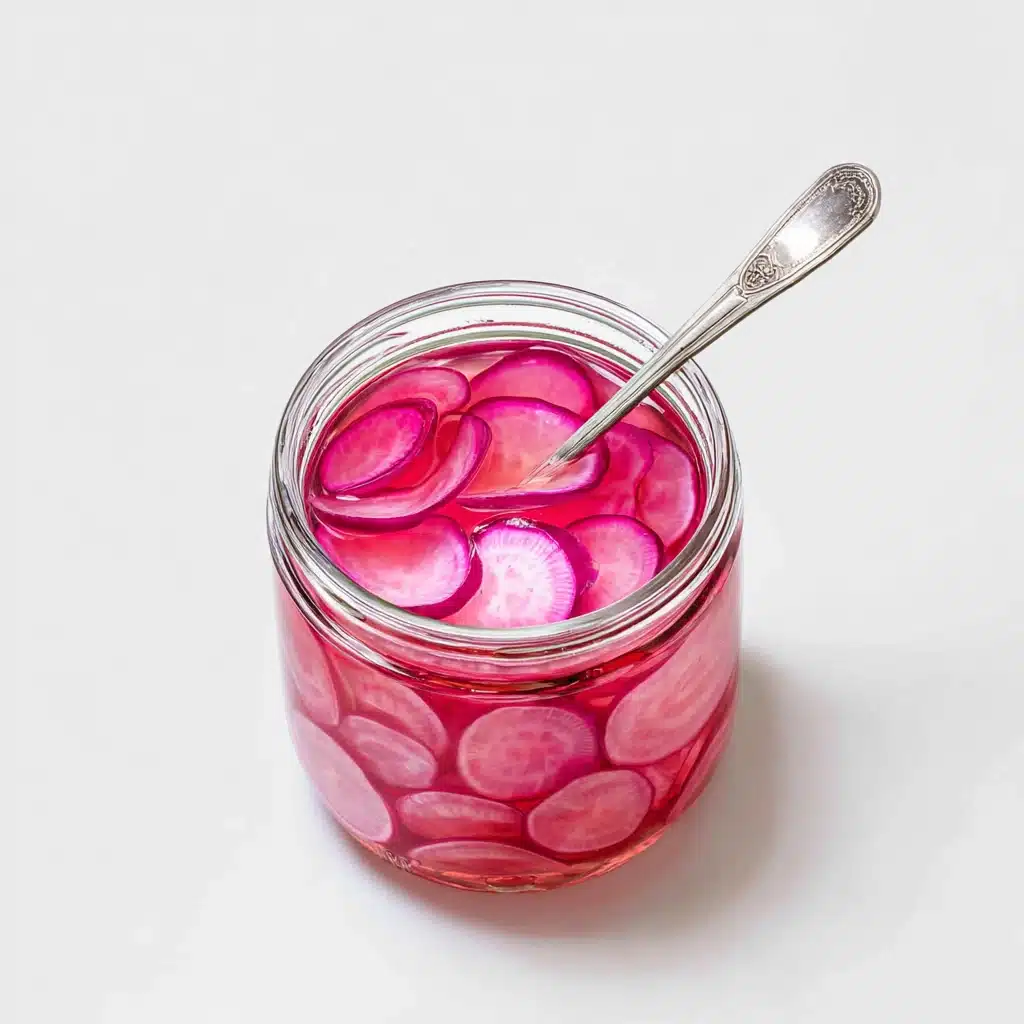
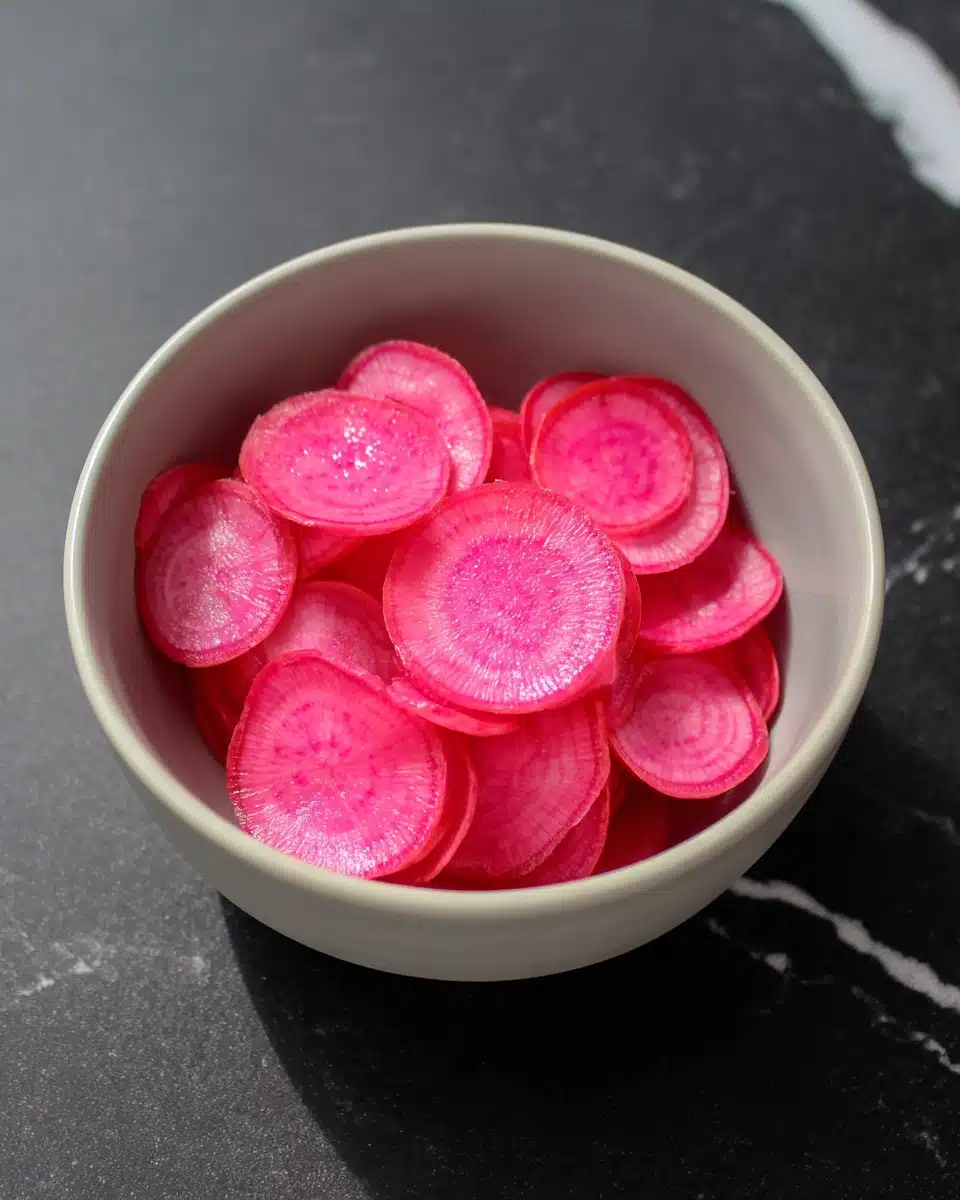
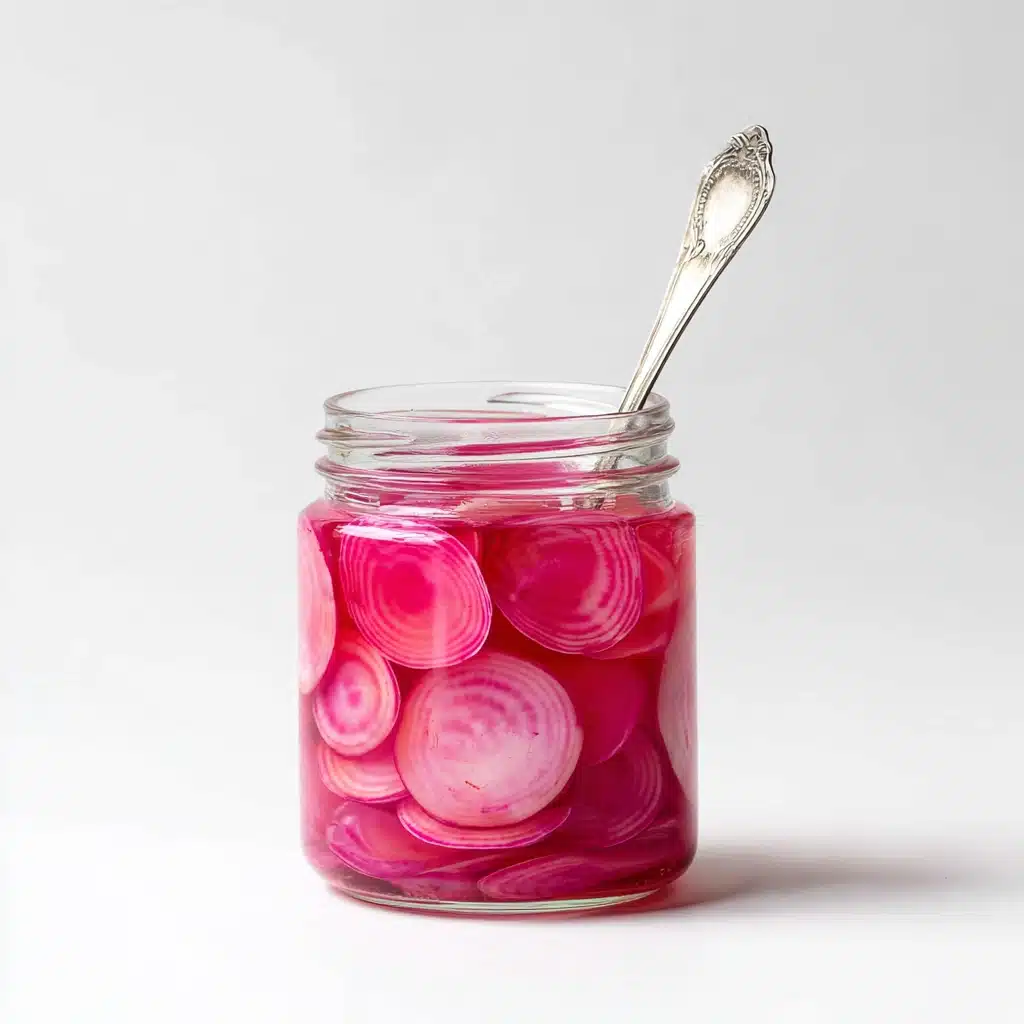
If you’re looking for a quick pick-me-up for your meals, Pickled Radishes are just the ticket! Their vibrant pink hue and punchy crunch brighten up everything from tacos to grain bowls. The tangy, sweet, and slightly peppery notes work magic on your palate, making these radishes an irresistible condiment you’ll want to keep in your fridge at all times. Whether you’re new to pickling or a seasoned pro, this recipe transforms humble radishes into something wildly delicious and keeps you coming back for more.
Ingredients You’ll Need
The beauty of Pickled Radishes lies in their simplicity: just a handful of everyday ingredients, each crucial in creating that crisp, tangy result. Together, they blend to make something far greater than the sum of their parts—each element matters for flavor, texture, and that famously gorgeous color!
- Radishes: Choose firm, bright radishes for the freshest crunch and best pickled texture.
- White vinegar: Brings the perfect tang and helps preserve the pickles’ vivid color.
- Water: Dilutes the vinegar ever-so-slightly so the finished radishes aren’t too harsh.
- Sugar: Balances the acid with a gentle sweetness that enhances the radishes’ natural flavor.
- Kosher salt: Crucial for both flavor and crispness—don’t be tempted to skip it!
- Optional spices (peppercorns, mustard seeds, coriander): Add subtle complexity to your brine; feel free to experiment or stick to the basics.
- Garlic clove (optional): Infuses a mellow, aromatic note to the finished pickles.
How to Make Pickled Radishes
Step 1: Prep the Radishes
Wash the radishes thoroughly to remove all dirt and grit—these little roots nestle soil in every nook. Slice them thinly, preferably using a mandoline for uniform rounds, but a sharp knife will work beautifully too. The thinner the slices, the faster they’ll absorb all that delicious pickling brine, making your Pickled Radishes ready in no time.
Step 2: Make the Brine
In a small saucepan, combine the vinegar, water, sugar, and salt. If you’re feeling adventurous, toss in some peppercorns or a sliced garlic clove at this stage. Warm the mixture over medium heat, stirring until the sugar and salt dissolve; there’s no need to boil. This quick heat brings all the flavors together and totally transforms the humble ingredients into the backbone of your Pickled Radishes.
Step 3: Pack Jars and Pour
Layer the sliced radishes into a clean glass jar, nestling in any optional spices or aromatics as you go. Carefully pour the hot brine over the radishes, ensuring they’re fully submerged. Give the jar a gentle shake or tap to release any trapped air bubbles, which ensures every slice gets a good soak.
Step 4: Cool and Chill
Let the jars cool to room temperature—resist the urge to rush this step! Once cooled, pop them into the fridge. You’ll start noticing the magic within an hour, but for the most vibrant color and flavor, let your Pickled Radishes chill overnight. The longer they sit, the more intense the flavor becomes, striking that perfect balance of piquant and sweet.
How to Serve Pickled Radishes

Garnishes
Pickled Radishes make a dazzling garnish scattered over tacos, avocado toast, or even salads. Their cheerful pink hue brings instant curb appeal to any plate, while their bright, sharp flavor wakes up your taste buds. You can also tuck them into sandwiches or poke bowls for an unexpected pop of tang.
Side Dishes
Serve Pickled Radishes alongside rich dishes like pulled pork, roast chicken, or grilled sausages—their acidity cuts cleanly through flavorful fat. For a plant-based meal, try them as a finishing touch on grain salads, veggie burgers, or roasted sweet potatoes. They really are the secret weapon to elevate any ordinary side.
Creative Ways to Present
Think outside the jar: arrange Pickled Radishes on a vivid charcuterie board, layer them onto breakfast eggs, or add them to sushi rolls for a playful twist. For your next gathering, serve them in tiny mason jars as individual table toppers or as a palate cleanser between courses—they’ll get people talking and reaching for seconds!
Make Ahead and Storage
Storing Leftovers
Your Pickled Radishes will keep beautifully in the fridge for up to two weeks. Make sure they’re stored in an airtight glass jar and always use a clean fork to fish them out, so you don’t introduce unwanted bacteria. The flavor only improves with time, making that last radish at the bottom of the jar a real treat!
Freezing
Freezing is not recommended for Pickled Radishes, as it changes their iconic crunch and lively texture once thawed. For best results, enjoy them straight from the fridge and craft new batches as needed; they’re quick enough to make that waiting never becomes a chore.
Reheating
There’s no need to reheat Pickled Radishes—they’re at their peak when icy-cold and crisp! On the rare chance you’re adding them to a warm dish, just spoon them on at the last minute to preserve both texture and that zippy flavor punch.
FAQs
Can I use other types of vinegar for pickling?
Absolutely! While white vinegar delivers classic flavor and the prettiest pink tone, you can experiment with rice vinegar for a softer finish or apple cider vinegar for a fruity undertone. Depending on your swap, the taste and color of your Pickled Radishes may vary slightly but will still be delicious.
How thin should I slice the radishes?
For best results, aim for slices about 1/8 inch thick. Super-thin slices absorb brine faster and create that signature crisp snap, but slightly thicker slices are perfectly tasty and retain a bit more bite. Use a mandoline for perfect uniformity if you have one!
Are Pickled Radishes spicy?
Classic Pickled Radishes are more tangy than spicy, but you can definitely add heat! Warm spices like peppercorns, or even a slice of fresh chili, will add a gentle kick without masking the radish’s natural zing. Adjust to suit your spice tolerance.
How long before Pickled Radishes are ready to eat?
If you’re as impatient as I am, you’ll be glad to know they’re tasty after just one hour of chill time, but for absolutely knockout flavor and color, try to wait at least 24 hours. The transformation is worth it, promise!
Can I pickle other vegetables using this recipe?
Certainly! This brine works beautifully for carrots, turnips, or even thinly sliced onions. Make it a kitchen adventure by trying combinations, but always slice veggies thin for the fastest, most flavorful pickling.
Final Thoughts
Bringing Pickled Radishes into your kitchen is pure joy—they add color, crunch, and a whisper of excitement to any meal. Whether you scatter them over dinner or snack on them straight from the jar, this recipe is sure to become a favorite. Go ahead: give it a whirl and brighten your table with every bite!
Print
Pickled Radishes Recipe
- Prep Time: 10 minutes
- Cook Time: 5 minutes
- Total Time: 1 hour 15 minutes (includes minimum chill time)
- Yield: 1 pint (about 12 servings) 1x
- Category: Side-dishes
- Method: Stovetop
- Cuisine: American
- Diet: Vegan
Description
These quick pickled radishes are crisp, tangy, and vibrant, adding a pop of flavor and color to salads, tacos, sandwiches, and more. With just a handful of basic ingredients and minutes of active prep, you’ll have a delicious condiment ready to brighten up any meal.
Ingredients
For the Pickled Radishes
- 1 bunch radishes (about 10-12), thinly sliced
- 1 small clove garlic, peeled and halved
For the Brine
- 1/2 cup rice vinegar (or apple cider vinegar)
- 1/2 cup water
- 1 1/2 tablespoons granulated sugar
- 1 teaspoon kosher salt
(Optional Add-Ins)
- 1/4 teaspoon whole peppercorns
- 1/4 teaspoon mustard seeds
- Pinch of red pepper flakes
Instructions
- Prepare the Radishes – Wash the radishes thoroughly and trim off the tops and roots. Thinly slice the radishes using a sharp knife or mandoline for even, delicate slices.
- Pack the Jar – Place the sliced radishes and garlic cloves into a clean pint-sized jar. If you’re using optional add-ins like peppercorns, mustard seeds, or red pepper flakes, add them now for extra flavor.
- Make the Brine – In a small saucepan, combine the vinegar, water, sugar, and salt. Bring the mixture to a gentle simmer over medium heat, stirring until sugar and salt are fully dissolved.
- Pickle the Radishes – Carefully pour the hot brine over the radishes in the jar, making sure all the slices are submerged. Let the jar cool to room temperature with the lid off.
- Chill and Serve – Once cooled, seal the jar with a lid and refrigerate for at least 1 hour for quick pickling, but the flavor improves after several hours or overnight. Use as desired and store in the fridge for up to 2 weeks.
Notes
- For best flavor and crunch, use firm, fresh radishes.
- Feel free to mix in other thinly sliced vegetables, like carrots or jalapeños.
- Adjust the sweetness by increasing or reducing sugar to taste.
- The pink hue intensifies the longer the radishes sit in the vinegar.
- Use a clean fork when serving to keep the brine fresh.
Nutrition
- Serving Size: 2 tablespoons
- Calories: 8
- Sugar: 1g
- Sodium: 130mg
- Fat: 0g
- Saturated Fat: 0g
- Unsaturated Fat: 0g
- Trans Fat: 0g
- Carbohydrates: 2g
- Fiber: 0g
- Protein: 0g
- Cholesterol: 0mg


Your email address will not be published. Required fields are marked *