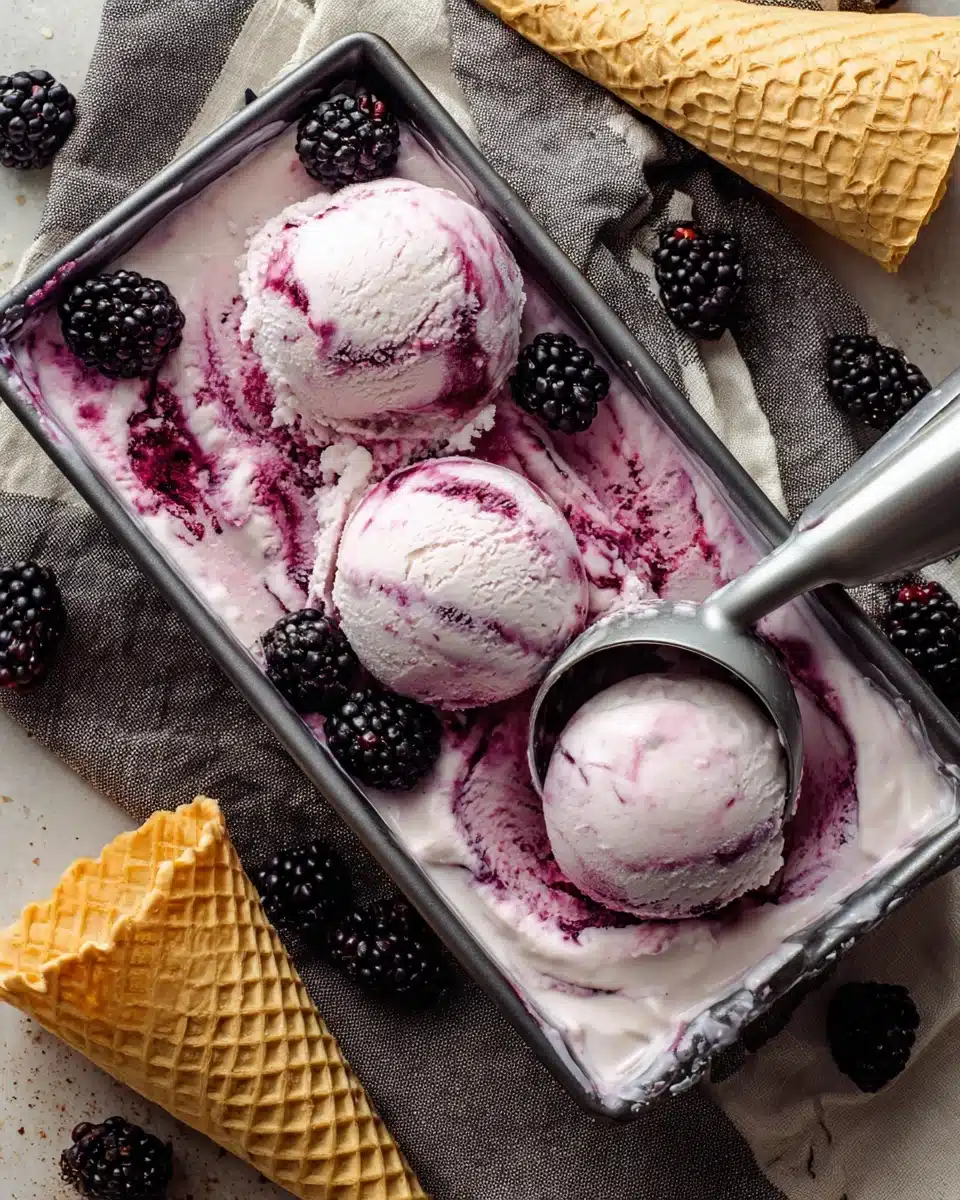
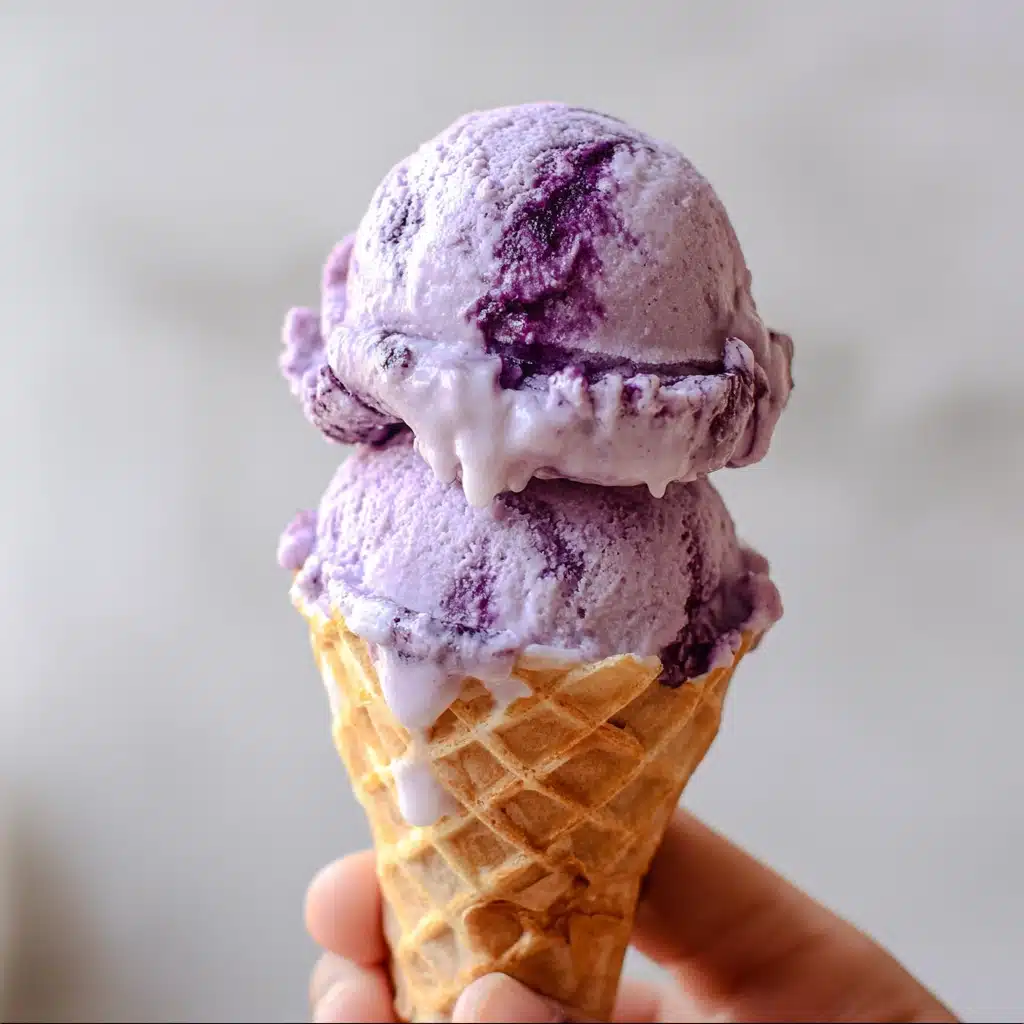
Imagine a dessert that’s as stunning as it is delicious—Blackberry Ice Cream is the showstopper you need to wow both your eyes and your tastebuds! This incredibly creamy treat strikes that ideal balance between luscious dairy richness and the vibrant, sweet-tart punch of blackberries. Every spoonful is a gorgeous swirl of color and flavor, making it perfect for summer days, dinner parties, or simply indulging in a little homemade magic.
Ingredients You’ll Need
Every element in this Blackberry Ice Cream recipe has a job to do, from the berries lending their signature hue to cream providing that plush texture. Here’s what you’ll gather for a batch, and why each choice matters.
- Fresh blackberries: These plump, juicy berries are the heart of the recipe—fresh is best for maximum fruity impact!
- Granulated sugar: Sweetens the ice cream and brings out the natural flavor of the berries, also helping prevent icy crystals.
- Heavy cream: Delivers an ultra-smooth, creamy mouthfeel that defines classic ice cream texture.
- Whole milk: Balances the richness, ensuring your dessert isn’t too heavy.
- Egg yolks: These add a custard-like silkiness and help the ice cream hold its shape when frozen.
- Lemon juice: A splash of acid sharpens the berry flavor and brings brightness to every bite.
- Pure vanilla extract: Enhances both the dairy and the blackberries, adding complexity and warmth.
- Pinch of salt: Just a touch elevates all the flavors, making every ingredient pop.
How to Make Blackberry Ice Cream
Step 1: Cook the Blackberries
Start by combining the blackberries with half the sugar in a saucepan. Cook them gently until the berries burst, releasing their vibrant juices. This not only creates a naturally sweet syrup but also deeply infuses the color and flavor throughout your Blackberry Ice Cream base.
Step 2: Puree and Strain
Once the berries are wonderfully syrupy and soft, blend the mixture until completely smooth. Then, press it through a fine mesh sieve to remove those pesky seeds. You’ll end up with the silkiest blackberry puree—the backbone of your dreamy dessert!
Step 3: Prepare the Custard Base
In a separate saucepan, gently heat the cream, milk, and half of the remaining sugar. Meanwhile, whisk the egg yolks and the last bit of sugar together until pale. Temper the eggs by slowly adding the warm dairy mixture, then return everything to the pan and cook over medium heat. Stir constantly until the mixture thickens and coats the back of a spoon—classic custard territory!
Step 4: Combine Blackberry and Custard
Once the custard base is ready, stir in your gorgeous blackberry puree, plus lemon juice, vanilla, and a pinch of salt. The kitchen will suddenly smell heavenly, and you’ll see the prettiest pastel purple appear. Chill this mixture thoroughly—it’s the secret to velvety-smooth Blackberry Ice Cream later on.
Step 5: Churn and Freeze
After the base is chilled, churn it in your ice cream maker according to the manufacturer’s instructions. The magic happens here as air is whipped in and the ice cream thickens to a luscious consistency. Scrape it into a loaf pan or airtight container, then freeze several hours until scoopable perfection is achieved.
How to Serve Blackberry Ice Cream

Garnishes
For the ultimate finish, top each scoop with a handful of fresh blackberries, a sprig of mint, or a drizzle of homemade berry syrup. A sprinkle of lemon zest or a few dark chocolate shavings can also turn each serving of Blackberry Ice Cream into a truly special occasion.
Side Dishes
This ice cream is a delight with shortbread cookies, almond biscotti, or slices of buttery pound cake. For a more decadent treat, sandwich it between crisp meringues or serve alongside a cluster of glazed nuts for contrasting crunch.
Creative Ways to Present
Show off your Blackberry Ice Cream in waffle cones, fancy coupe glasses, or even in mason jars layered with granola and whipped cream. Hosting a party? Set up a sundae bar with sauces and toppings, or serve mini ice cream sandwiches for a playful (and portable) dessert.
Make Ahead and Storage
Storing Leftovers
Keep any extra Blackberry Ice Cream in an airtight container in your freezer, pressing a layer of parchment directly over the surface to prevent icy buildup. It’ll maintain its creamy texture and berry flavor for up to two weeks—if it lasts that long!
Freezing
Freeze the churned ice cream for at least 4 hours before scooping, as this allows it to set to the perfect consistency. If you make extra, it freezes beautifully; just let the container sit at room temperature for about 10 minutes before serving to make scooping easier.
Reheating
While ice cream isn’t meant to be reheated, if your Blackberry Ice Cream becomes a bit too firm, simply let it sit on the countertop for 10-15 minutes. This brief softening will restore its creaminess without melting it completely.
FAQs
Can I use frozen blackberries instead of fresh?
Absolutely! Frozen blackberries work wonderfully in this recipe and are available year-round. Just make sure to thaw and drain them first to avoid excess water in your ice cream.
What if I don’t have an ice cream maker?
No problem—you can still make a delicious version! After mixing your base, pour it into a freezer-safe dish, freeze, and stir vigorously every 30-60 minutes until set. The texture won’t be as airy, but the flavor remains amazing.
Can I reduce the sugar?
Yes, you can cut back slightly if you prefer a tart edge, but remember that sugar also affects the texture. Reducing it too much could yield a harder, icier Blackberry Ice Cream.
Is there a dairy-free option?
Definitely! Swap the cream and milk for full-fat coconut milk, and skip the egg yolks in favor of a tablespoon or two of cornstarch to thicken the base. This gives you a luscious, vegan treat with all the berry flavor.
How do I avoid icy ice cream?
Make sure to fully chill your base before churning, don’t skip the sugar, and keep your storage container tightly sealed. These tips will help your Blackberry Ice Cream stay scoopable and creamy.
Final Thoughts
Once you scoop into this homemade Blackberry Ice Cream, you’ll understand why it’s worth every minute. It’s fruity, creamy, and bursting with seasonal delight—so gather those berries and treat yourself to a batch soon. You’re in for a seriously sweet reward!
Print
Blackberry Ice Cream Recipe
- Prep Time: 20 minutes
- Cook Time: 20 minutes
- Total Time: 6 hours (includes chilling and freezing)
- Yield: 1 quart (about 8 servings) 1x
- Category: Desserts
- Method: Blending
- Cuisine: American
- Diet: Vegetarian
Description
Deliciously creamy and vibrant, this homemade blackberry ice cream blends the sweet-tart flavors of fresh blackberries with smooth, rich cream for a summer treat that’s both refreshing and decadent. This easy-to-follow recipe captures the full-bodied essence of ripe berries and is perfect for ice cream lovers looking for a fruity twist.
Ingredients
For the Blackberry Puree
- 2 cups fresh blackberries (can substitute with frozen)
- 1/2 cup granulated sugar
- 1 tablespoon lemon juice
For the Ice Cream Base
- 2 cups heavy cream
- 1 cup whole milk
- 3/4 cup granulated sugar
- 5 large egg yolks
- 1 teaspoon vanilla extract
- Pinch of salt
Instructions
- Prepare the Blackberry Puree: In a medium saucepan, combine the blackberries, 1/2 cup sugar, and lemon juice. Cook over medium heat, stirring occasionally, until the berries release their juices and the mixture becomes syrupy, about 7-10 minutes. Remove from heat and press the mixture through a fine strainer to remove seeds. Let the puree cool completely.
- Make the Custard Base: In a separate saucepan, heat the cream and milk over medium heat until small bubbles start to form around the edges. Do not let it boil.
- Whisk Egg Yolks: While the cream mixture heats, whisk together the egg yolks, 3/4 cup sugar, and a pinch of salt in a medium bowl until pale and slightly thickened.
- Temper the Egg Yolks: Slowly pour about 1 cup of the hot cream mixture into the egg yolk mixture while whisking constantly to temper the eggs. Then, pour the tempered eggs back into the saucepan with the remaining cream.
- Cook the Custard: Cook the mixture over low heat, stirring constantly with a wooden spoon, until it thickens enough to coat the back of the spoon, about 5–7 minutes. Do not let it boil. Remove from heat and stir in vanilla extract.
- Combine and Chill: Whisk the cooled blackberry puree into the custard base until fully incorporated. Cover and chill in the refrigerator for at least 4 hours or overnight for best results.
- Churn the Ice Cream: Once chilled, pour the mixture into your ice cream maker and churn according to the manufacturer’s instructions until soft-serve consistency is reached.
- Freeze and Serve: Transfer the ice cream to a lidded, freezer-safe container. Freeze for at least 4 hours, or until firm. Scoop and enjoy!
Notes
- For extra berry flavor, swirl in some reserved blackberry puree before freezing.
- If you don’t have an ice cream maker, pour the mixture into a shallow pan, freeze, and stir every 30 minutes for 2-3 hours.
- Use fresh, in-season blackberries for best flavor, but high-quality frozen berries work well in a pinch.
- Premium vanilla extract enhances the fruity notes; don’t skip it!
Nutrition
- Serving Size: 1/2 cup
- Calories: 240
- Sugar: 24g
- Sodium: 40mg
- Fat: 15g
- Saturated Fat: 9g
- Unsaturated Fat: 5g
- Trans Fat: 0g
- Carbohydrates: 27g
- Fiber: 2g
- Protein: 4g
- Cholesterol: 105mg


Your email address will not be published. Required fields are marked *