Butter Bath Corn on the Cob is the kind of homey, sunshine-filled comfort food that instantly transports you to a backyard picnic or festive summer table. Plump ears of sweet corn are nestled in a dreamy bath of butter, milk, and simple seasonings, transforming every bite into silky, tender perfection. This recipe is a celebration of simplicity—just a handful of ingredients, one pot, and a few easy steps yield crowd-pleasing results that somehow taste both nostalgic and new. If you’re looking for a foolproof way to delight guests or make dinner at home feel special, you can’t go wrong with Butter Bath Corn on the Cob.
Ingredients You’ll Need
It’s amazing how just a few common ingredients can unlock flavors worthy of a summer celebration. Each one here is essential, playing a starring role in the taste, texture, and irresistible brightness that Butter Bath Corn on the Cob is known for.
- Fresh Corn on the Cob: Choose ears that are plump, firm, and wrapped in bright green husks for maximum sweetness and snap.
- Unsalted Butter: The heart of the bath! Using unsalted butter lets you control the seasoning perfectly—don’t skimp here.
- Whole Milk: This adds creaminess and a subtle sweetness, ensuring your corn is lusciously tender.
- Water: A little water helps thin the bath just enough to cook the corn evenly without diluting flavor.
- Salt: Kosher salt or sea salt brings out the natural sugars in the corn and forms the foundation of the seasoning.
- Sugar (optional): If your corn isn’t at its seasonal peak, a touch of sugar amplifies its natural sweetness.
How to Make Butter Bath Corn on the Cob
Step 1: Prep the Corn
Start by husking your fresh corn, peeling away the green leaves and snapping off any remaining silk strands. Give each ear a good rinse under cold water—clean corn helps the butter bath soak in more evenly. If your pot is on the smaller side, feel free to snap the ears in half so they fit comfortably.
Step 2: Build the Butter Bath
In a large pot, combine the unsalted butter, whole milk, water, salt, and sugar (if using). Place the pot over medium heat and let the butter melt gently into the liquid. Stir occasionally to create a velvety bath that’s rich, fragrant, and ready to lavish your corn with flavor.
Step 3: Simmer the Corn
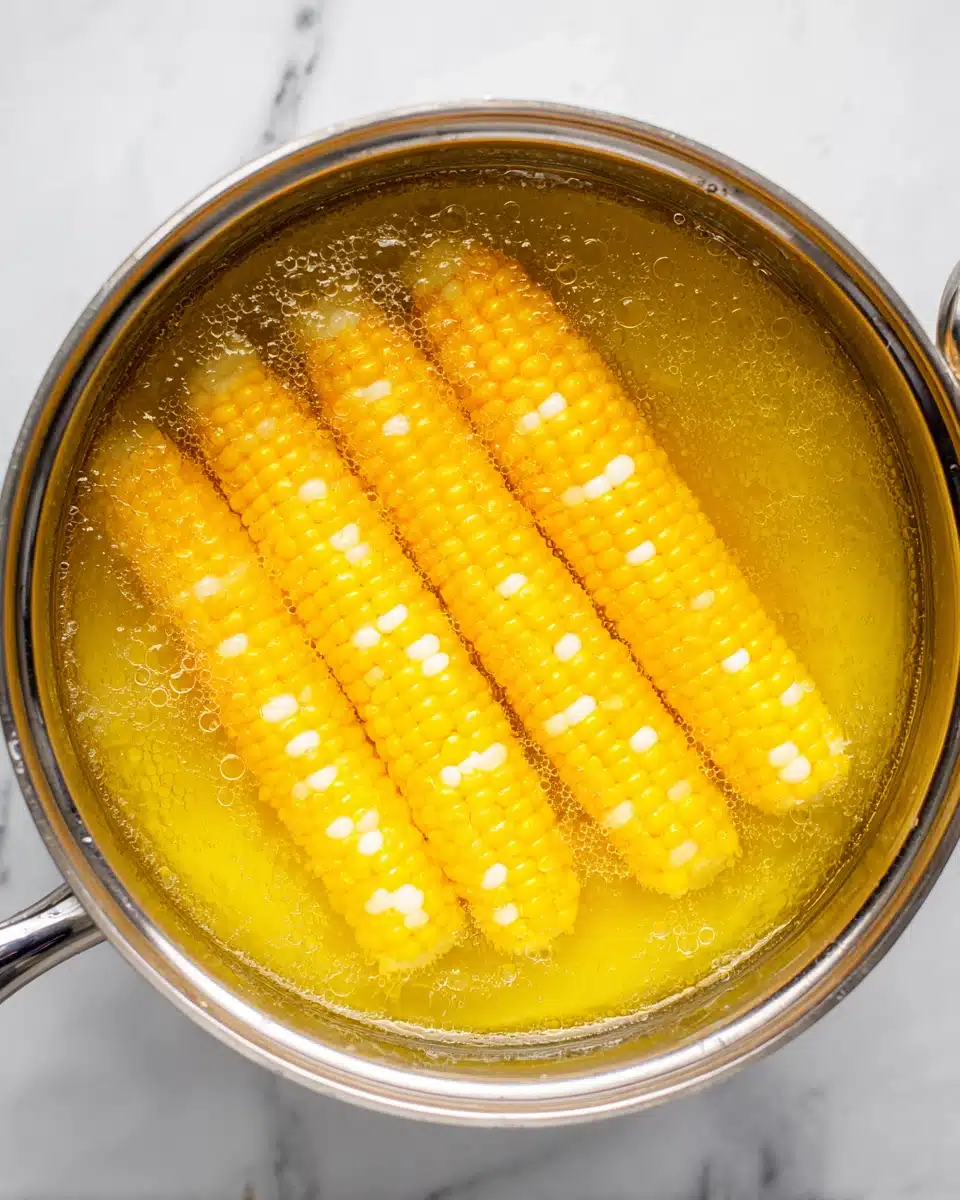
Once the butter has fully melted and the bath is steaming—but not boiling—add your corn. Make sure each ear is mostly submerged. Let the corn simmer gently for about 7 to 10 minutes, or until the kernels are plump, tender, and bursting with color. Avoid boiling, which can toughen the kernels; a gentle simmer is your secret weapon.
Step 4: Serve and Savor
Carefully lift the ears from the butter bath, letting the excess drip away. Line them up on a platter, brush with a little extra melted butter from the pot, and sprinkle with a final dusting of salt. Now’s the time to add any garnishes or finishing touches—then watch them disappear in a flash!
How to Serve Butter Bath Corn on the Cob

Garnishes
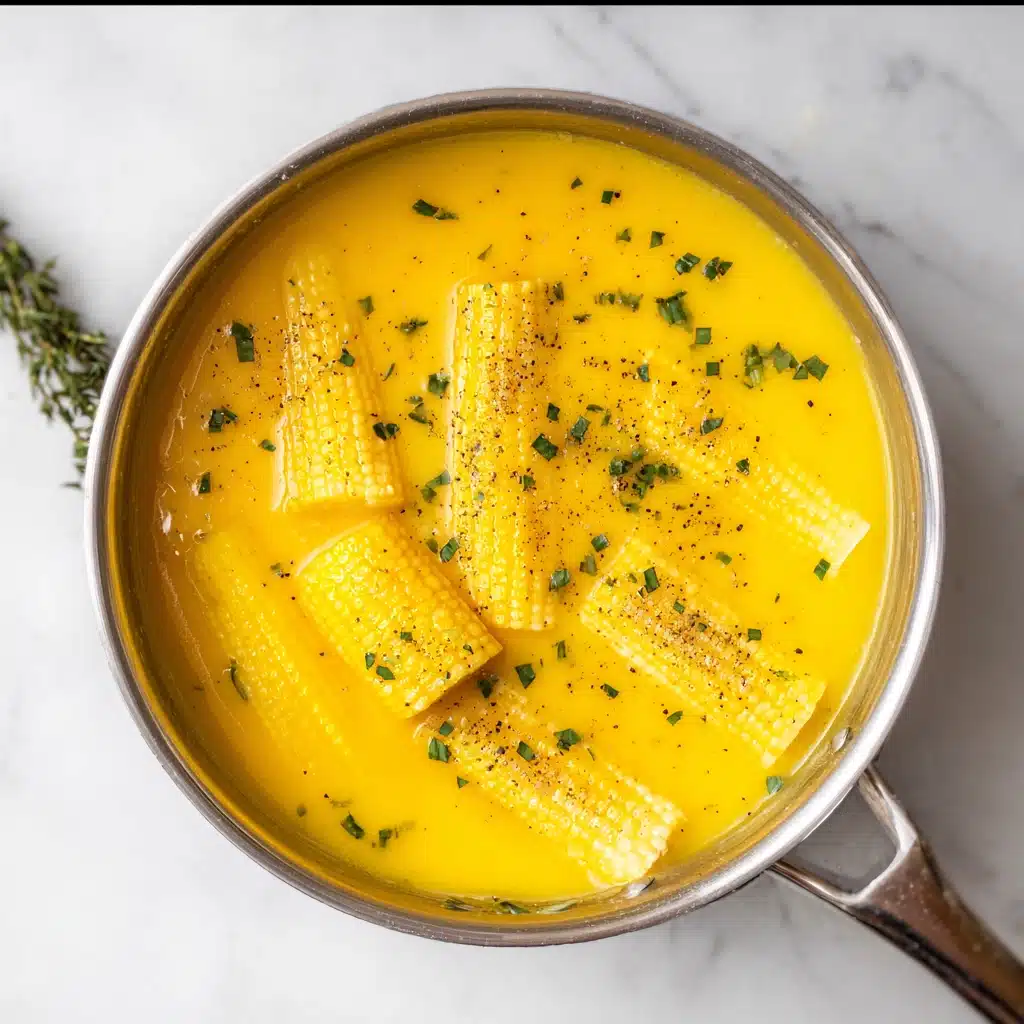
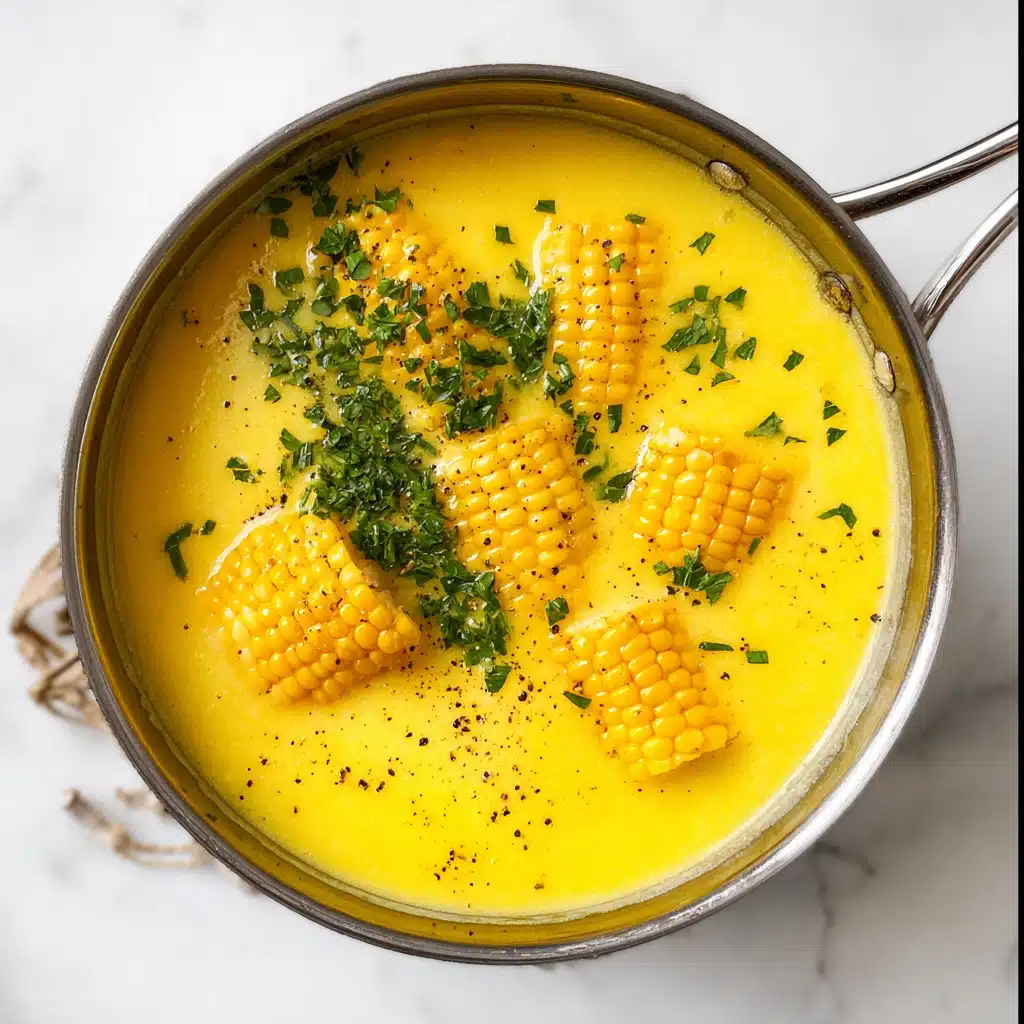
There’s something magical about the classic combo of corn and butter, but Butter Bath Corn on the Cob welcomes all sorts of finishing touches. Try a generous shower of chopped fresh herbs like chives, parsley, or basil for a pop of color and brightness. Cracked black pepper, grated parmesan, smoked paprika, or a squeeze of fresh lime all take this dish in delicious directions—let your mood (or your spice cabinet) be your guide!
Side Dishes
This dish plays beautifully alongside nearly any summer meal. For a classic cookout feel, serve Butter Bath Corn on the Cob next to grilled burgers, smoky barbecued chicken, or a crisp green salad. Cold potato salad, juicy tomato slices, or lightly dressed coleslaw also make wonderful partners for this sweet, buttery corn.
Creative Ways to Present
If you’re feeling playful, try inserting corn holders into the sides of each ear for easy grabbing, or cut the cobs into smaller sections for a pass-around party snack. For a wow-worthy twist, brush the corn with flavored compound butters—think chili-lime, garlic-herb, or honey-basil—and serve on a wooden board with a bowl of butter bath for dipping on the side.
Make Ahead and Storage
Storing Leftovers
If you find yourself with leftover Butter Bath Corn on the Cob (lucky you!), simply let the ears cool to room temperature, then wrap them tightly in foil or plastic wrap. Store in the refrigerator for up to 3 days, making sure to keep them as airtight as possible to retain that buttery freshness.
Freezing
Butter Bath Corn on the Cob freezes surprisingly well. After cooling, wrap the individual ears in plastic wrap and place them in a freezer-safe bag or container. They’ll keep beautifully for up to 2 months—perfect for stashing away a taste of summer for later.
Reheating
To reheat, simply pop the corn (still wrapped in foil) into a 350°F oven for 10 to 15 minutes, or microwave on a plate covered with a damp paper towel. If you saved any leftover butter bath, use it to baste the corn as it heats for an extra boost of flavor and moisture.
FAQs
Can I make Butter Bath Corn on the Cob with frozen corn?
Absolutely! While fresh corn is unbeatable for sweetness and crunch, frozen corn on the cob works well in the butter bath. Thaw it first, then simmer gently just until heated through.
Does it matter if I use salted or unsalted butter?
Unsalted butter is best because it lets you control the level of salt in the final dish, but if you only have salted butter, simply reduce the added salt in the bath to avoid over-seasoning.
Can I add spices or aromatics to the butter bath?
Of course! Feel free to toss in a few smashed garlic cloves, a sprig of thyme, a bay leaf, or a pinch of your favorite spices while the corn simmers for subtle, infused flavor.
What’s the best way to keep corn warm for a party?
After cooking, you can leave Butter Bath Corn on the Cob in the warm (not boiling) butter bath, covered, for up to 30 minutes. This keeps it hot and tender until you’re ready to serve.
Is this recipe gluten-free?
Yes, Butter Bath Corn on the Cob is naturally gluten-free as written. Just double-check your butter and any added seasonings to be sure they’re free from gluten-containing additives.
Final Thoughts
Bringing a pot of Butter Bath Corn on the Cob to your table is an act of pure, joyful hospitality. There’s something unbeatable about that first bite—silky, buttery, and bursting with summer sweetness. I hope you’ll give this classic recipe a spot in your rotation and let it transform your corn nights into something unforgettable. Trust me, it’s the kind of dish you’ll want to share with your favorite people, again and again!
Print
Butter Bath Corn on the Cob Recipe
- Prep Time: 5 minutes
- Cook Time: 12 minutes
- Total Time: 17 minutes
- Yield: 6 servings 1x
- Category: Side-dishes
- Method: Stovetop
- Cuisine: American
- Diet: Vegetarian
Description
Butter Bath Corn on the Cob is a simple but outrageously flavorful way to cook sweet corn. The ears are gently simmered in a rich bath of butter, milk, sugar, and optional seasonings, resulting in exceptionally juicy, tender corn packed with creamy, slightly sweet, buttery flavor in every bite.
Ingredients
Main Ingredients
- 6 ears of fresh corn, husked
Butter Bath
- 4 cups water
- 1 cup whole milk
- 1/2 cup (1 stick) unsalted butter
- 2 tablespoons sugar
- 1 teaspoon salt
- Optional: 1 teaspoon black pepper
To Serve
- Additional melted butter, for serving
- Chopped fresh herbs or grated cheese (optional)
Instructions
- Prepare the Butter Bath: In a large pot, combine the water, milk, butter, sugar, and salt. If you’re adding black pepper or other seasonings, add them now as well. Place the pot over medium heat and stir until the butter has melted and everything is well combined.
- Add the Corn: Gently add the husked corn ears to the simmering butter bath. Make sure the corn is submerged. If needed, add a bit more water or gently rotate the corn during cooking for even coverage.
- Simmer the Corn: Reduce the heat to medium-low. Let the corn simmer (do not boil) for 10–12 minutes. The corn will become tender, plump, and absorb that rich, buttery flavor.
- Serve: Using tongs, carefully remove the corn from the butter bath. Serve immediately, drizzled with additional melted butter and a sprinkle of fresh herbs or grated cheese if desired.
Notes
- Use the freshest corn available for the sweetest flavor.
- You can leave the corn in the butter bath on very low heat to keep it warm for a longer time before serving.
- Try adding aromatics like a few smashed garlic cloves or fresh thyme to the butter bath for another flavor boost.
- This method works best with whole milk, but you can substitute 2% or even half-and-half according to preference.
- Leftover butter bath can be strained and used to boil potatoes for an extra indulgent side dish.
Nutrition
- Serving Size: 1 ear
- Calories: 190
- Sugar: 8g
- Sodium: 410mg
- Fat: 11g
- Saturated Fat: 7g
- Unsaturated Fat: 3g
- Trans Fat: 0g
- Carbohydrates: 23g
- Fiber: 2g
- Protein: 4g
- Cholesterol: 30mg


Your email address will not be published. Required fields are marked *