Why You’ll Love This Recipe
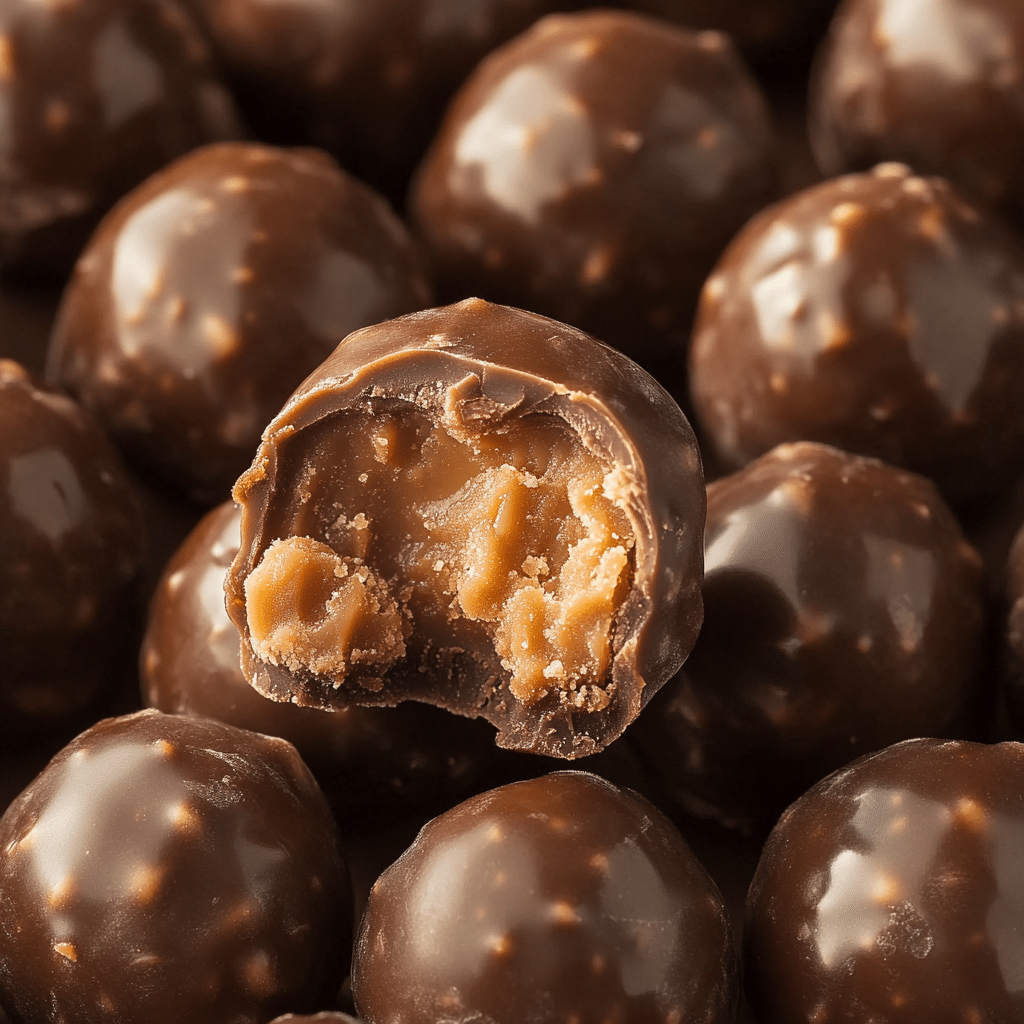
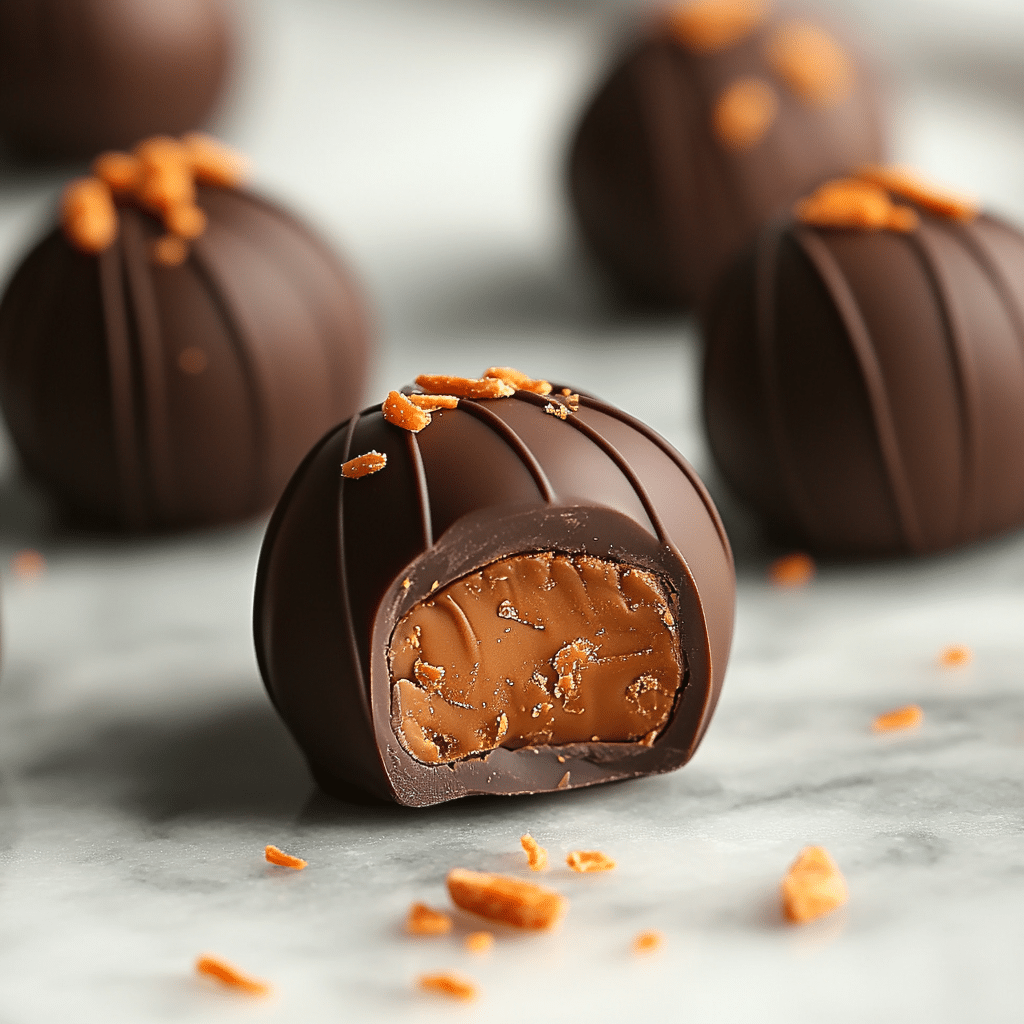
Butterfinger Balls are the ultimate no-bake treat—crispy, creamy, chocolatey, and packed with the unmistakable flavor of Butterfinger candy bars. Made with just a few ingredients, these bite-sized delights are perfect for parties, holidays, or satisfying a sweet tooth any time. They’re easy to make, freezer-friendly, and completely irresistible.
ingredients
(Tip: You’ll find the full list of ingredients and measurements in the recipe card below.)
Butterfinger candy bars (crushed)cream cheese (softened)powdered sugarvanilla extractgraham cracker crumbs (optional for texture)chocolate chips or melting wafers (milk, semi-sweet, or dark)coconut oil or shortening (optional, for smoother melting)
directions
In a mixing bowl, beat softened cream cheese with powdered sugar and vanilla extract until smooth and creamy.
Stir in crushed Butterfinger pieces (reserve some for garnish if desired) and optional graham cracker crumbs.
Roll the mixture into small 1-inch balls and place on a parchment-lined baking sheet.
Freeze the balls for 20–30 minutes to firm up.
Melt chocolate chips with a bit of coconut oil or shortening until smooth.
Dip each ball into the melted chocolate, coating fully, then place back on the baking sheet.
Sprinkle with reserved Butterfinger crumbs or drizzle with more melted chocolate if desired.
Chill until the chocolate is set, about 15 minutes.
Servings and timing
This recipe makes about 24 balls.Preparation time: 20 minutesChilling time: 45 minutesTotal time: about 1 hour 5 minutes
Variations
Use peanut butter in the filling for added richness.
Roll in crushed peanuts, sprinkles, or cocoa powder instead of dipping in chocolate.
Make them mini for bite-size party treats.
Use white chocolate or a mix of dark and milk chocolate coatings.
storage/reheating
Store in an airtight container in the fridge for up to 1 week.For longer storage, freeze for up to 2 months—thaw in the fridge before serving.Best enjoyed cold or at room temperature—no reheating needed.
FAQs

Can I use Butterfinger baking bits?
Yes, they’re perfect for mixing into the filling.
Do I need to freeze them before dipping?
Yes, chilling helps them hold their shape when dipped in warm chocolate.
Can I make these ahead of time?
Absolutely—they store well and taste great even days later.
What chocolate works best?
Melting wafers or chocolate chips with a bit of coconut oil for smooth coating.
Are these gluten-free?
Check your candy bars and graham crackers—sub gluten-free versions if needed.
Can I use a different candy?
Yes, Snickers, Reese’s, or toffee bits work great too.
Can I add nuts?
Yes, finely chopped peanuts or almonds add texture and crunch.
Do I need a mixer?
A hand mixer helps with smooth filling, but you can mix by hand with softened ingredients.
Can kids help make these?
Definitely—a fun, no-bake recipe perfect for little hands.
Conclusion
Butterfinger Balls are a dreamy combination of candy bar crunch, creamy filling, and rich chocolate coating—all in one poppable bite. Simple, decadent, and always a hit, these no-bake treats are perfect for every occasion. Whip up a batch and watch them disappear in no time!
Print
Butterfinger Balls
- Prep Time: 20 minutes
- Total Time: 1 hour 20 minutes
- Yield: 30 balls
- Category: Desserts
- Method: No bake
- Cuisine: American
- Diet: Vegetarian
Description
Butterfinger Balls are sweet, creamy peanut butter truffles with a crispy Butterfinger candy crunch, all dipped in smooth chocolate. These no-bake treats are perfect for holidays, parties, or just a quick dessert when you’re craving something sweet and satisfying!
Ingredients
-
1 1/2 cups creamy peanut butter
-
1/2 cup unsalted butter, softened
-
2 1/2 cups powdered sugar
-
1 1/2 cups crushed Butterfinger candy bars (about 6 fun-size bars)
-
2 cups semi-sweet chocolate chips
-
1 tbsp coconut oil or shortening (optional, for smoother chocolate)
Instructions
-
Make the filling:
-
In a large bowl, mix together peanut butter and softened butter until smooth.
-
Gradually add in powdered sugar, stirring until combined.
-
Fold in crushed Butterfinger pieces until evenly mixed.
-
-
Roll into balls:
-
Scoop and roll the mixture into 1-inch balls.
-
Place them on a parchment-lined baking sheet and chill in the freezer for 30 minutes to firm up.
-
-
Melt the chocolate:
-
In a microwave-safe bowl, melt chocolate chips with coconut oil in 30-second intervals, stirring between each, until smooth.
-
-
Dip the balls:
-
Using a fork or toothpick, dip each chilled ball into the melted chocolate, letting excess drip off.
-
Place back on the parchment-lined sheet.
-
-
Set and serve:
-
Chill in the fridge for 20–30 minutes, or until chocolate is set.
-
Store in an airtight container in the fridge for up to 1 week.
-
Notes
-
Use a food processor to easily crush Butterfinger bars.
-
Want them extra crunchy? Add more crushed candy on top before the chocolate sets.
-
They freeze well too—just thaw before eating.


Your email address will not be published. Required fields are marked *