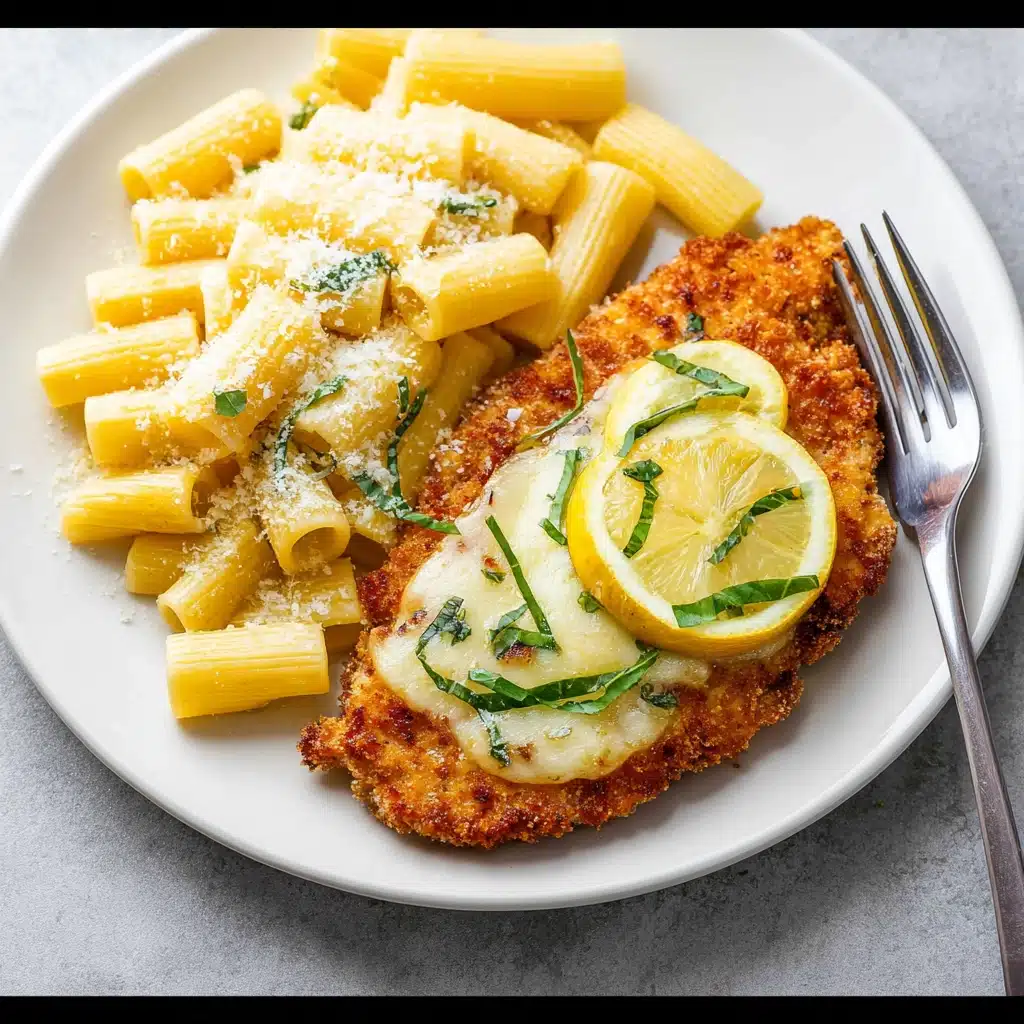
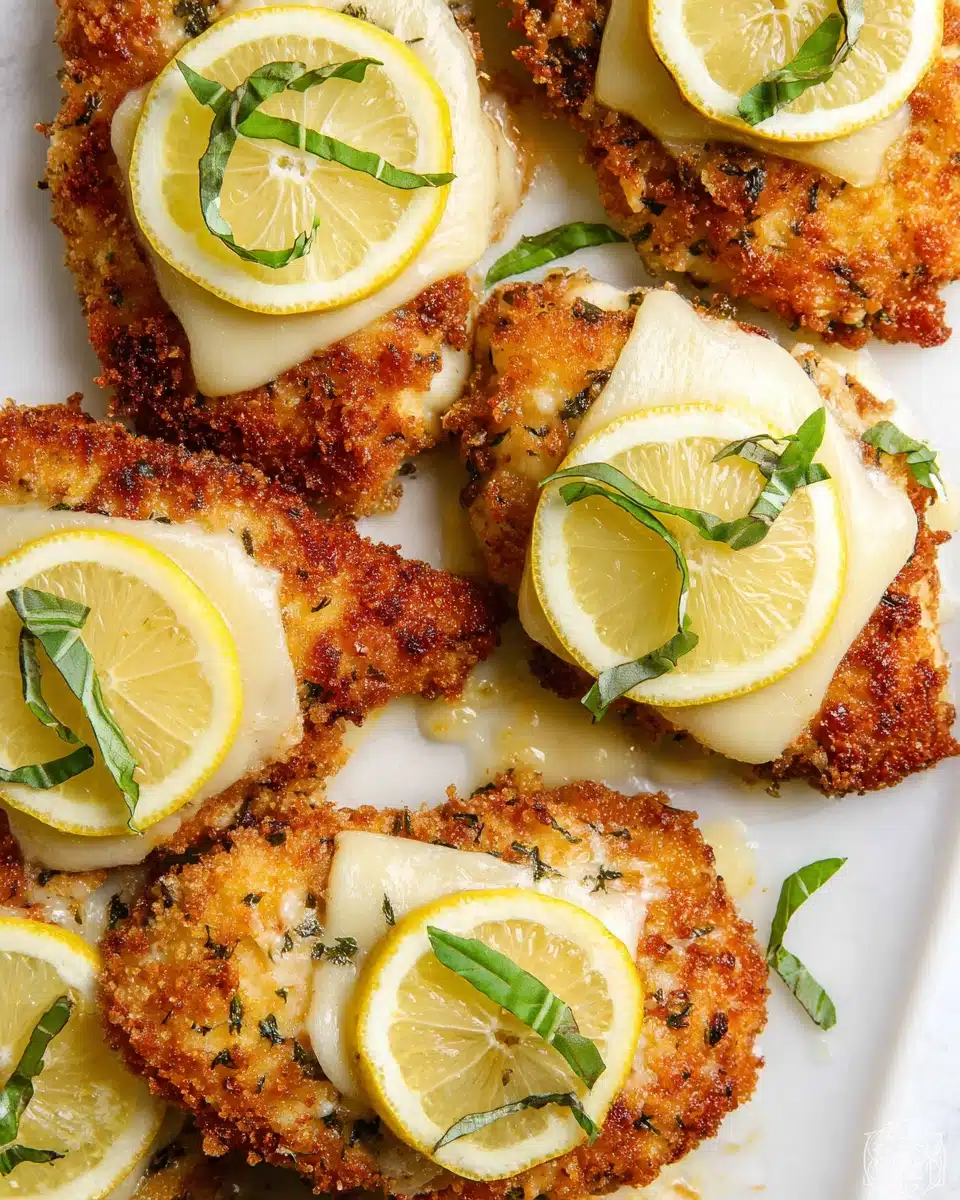
Get ready to fall in love with the irresistibly crispy, juicy magic of Cheesecake Factory Crusted Chicken Romano. This restaurant favorite combines tender chicken breasts coated in a golden, cheesy crust that delivers a satisfying crunch with every bite. It’s the kind of dish that turns an ordinary weeknight into something truly special. If you’ve ever wondered how to capture that signature flavor at home, you’re about to discover just how doable (and fun) it is to recreate this classic right in your own kitchen.
Ingredients You’ll Need
Each ingredient in Cheesecake Factory Crusted Chicken Romano has an important role to play—providing crunch, creaminess, color, or that rich pop of savory flavor. You don’t need anything fancy, just some high-quality basics that come together for an unforgettable meal.
- Chicken breasts: Go for boneless, skinless chicken breasts—they’re the perfect blank canvas to let that Romano crust shine.
- Romano cheese: Freshly grated Romano melts into the breading, giving every bite a sharp, tangy richness you won’t want to miss.
- Breadcrumbs: Reach for fine, plain breadcrumbs for that perfectly crisp, even coating.
- All-purpose flour: This helps anchor the crust to the chicken for a flawless finish.
- Eggs: Beaten eggs act as the “glue,” ensuring every crumb sticks exactly where it should.
- Salt and black pepper: A sprinkling of these two boosts all the underlying flavors and keeps each bite balanced.
- Olive oil (or neutral oil): Frying in hot oil is essential for that gorgeous, evenly browned crust.
- Optional: Parsley and lemon wedges: Add these as fresh, zesty finishing touches for color and brightness.
How to Make Cheesecake Factory Crusted Chicken Romano
Step 1: Prep the Chicken
Start by gently pounding your chicken breasts to an even thickness—about half an inch is perfect. This little extra effort ensures they cook quickly and evenly, and stay beautifully tender and juicy.
Step 2: Set Up the Breading Station
Line up three shallow dishes: one with flour (seasoned with a pinch of salt and pepper), another with beaten eggs, and the third with a mix of Romano cheese and breadcrumbs. Having everything ready makes the breading process smooth and mess-free.
Step 3: Dredge, Dip, and Dredge Again
Coat each chicken breast first in the seasoned flour, then dip it in the egg, and finally press it into the cheesy breadcrumb mixture. Make sure to pat down gently so the crust really sticks for that classic Cheesecake Factory Crusted Chicken Romano crunch.
Step 4: Pan-Fry to Golden Perfection
Heat a good layer of olive oil in a large skillet over medium-high heat. Once it shimmers, add your crusted chicken and cook for about 3–4 minutes per side. You’re looking for a deep golden crust that’s crispy and fragrant, while the chicken inside stays succulent.
Step 5: Rest and Serve
Let your chicken rest on a wire rack or paper towel for a minute or two. This keeps the crust crisp and gives you time to get everything else on the plate. Now you’re ready to enjoy your homemade Cheesecake Factory Crusted Chicken Romano.
How to Serve Cheesecake Factory Crusted Chicken Romano

Garnishes
A final flourish of freshly chopped parsley over each piece of chicken adds a pop of color and subtle herby brightness. For extra zing, serve with lemon wedges—squeezing a little juice over the top just before eating wakes up all the flavors.
Side Dishes
Pair your Cheesecake Factory Crusted Chicken Romano with creamy mashed potatoes, a tangle of spaghetti tossed in marinara, or garlicky sautéed green beans. Each brings something different to the table, making dinner feel like a restaurant-quality spread.
Creative Ways to Present
For a fun twist, slice the chicken into strips and lay them over a simple arugula salad for a lighter meal. You can also serve the chicken atop toasted ciabatta with a swipe of basil aioli for a crowd-pleasing sandwich version.
Make Ahead and Storage
Storing Leftovers
If you find yourself with extra portions (lucky you!), store cooled, leftover Cheesecake Factory Crusted Chicken Romano in an airtight container in the fridge. It will stay delicious and fresh for up to 3 days, perfect for quick lunches or dinners.
Freezing
For longer storage, freeze the cooked and cooled chicken breasts by placing them on a baking sheet until solid, then transferring to a freezer-safe bag. This way, the crust stays crispier and the chicken can be enjoyed within 1 to 2 months.
Reheating
The best way to bring back that irresistible crunch is to reheat your chicken in a 350°F oven for about 10–15 minutes, or until hot throughout. Skip the microwave if you can—it tends to make the crust soggy.
FAQs
Can I use Parmesan instead of Romano cheese?
Absolutely! While Romano cheese gives the dish its signature tang, Parmesan also works well and will still give you a rich, cheesy crust. Try it with Pecorino Romano for an even stronger flavor punch.
What’s the secret to a crispy crust?
Thoroughly pressing the breadcrumb and cheese coating into the chicken, and cooking in hot oil, both ensure a shatteringly crisp exterior. Be sure not to overcrowd the pan so the chicken fries rather than steams.
Can I bake the chicken instead of frying?
Yes, you can bake Cheesecake Factory Crusted Chicken Romano at 425°F on a wire rack set over a baking sheet for around 20–25 minutes, flipping halfway through. While it won’t have exactly the same crunch as frying, it’s still tasty and a tad lighter.
Is it possible to make this recipe gluten-free?
Definitely! Swap the all-purpose flour for your favorite gluten-free flour blend, and use gluten-free breadcrumbs. The rest of the ingredients are already naturally gluten-free.
What’s the best way to pound chicken breasts evenly?
Place each chicken breast between two sheets of plastic wrap or parchment and use a meat mallet or rolling pin, starting from the thickest part and working outward. Even thickness means juicy, perfectly cooked chicken every time.
Final Thoughts
There’s something undeniably comforting about recreating a restaurant favorite like Cheesecake Factory Crusted Chicken Romano in your own kitchen. The crispy, cheesy crust and tender chicken are always a hit, whether for dinner tonight or an impressive weekend meal. Try it soon—you just might find it becomes one of your most-requested recipes!
Print
Cheesecake Factory Crusted Chicken Romano Recipe
- Prep Time: 15 minutes
- Cook Time: 15 minutes
- Total Time: 30 minutes
- Yield: 3 servings 1x
- Category: Main-course
- Method: Frying
- Cuisine: Italian-American
- Diet: Halal
Description
Indulge in the Cheesecake Factory Crusted Chicken Romano—a restaurant-style entrée made at home and coated in a crisp Romano cheese and breadcrumb crust. Each chicken cutlet is juicy inside, crunchy outside, and finished with a hint of Italian herbs for a family-friendly main course that’s sure to impress.
Ingredients
For the Chicken
- 3 boneless, skinless chicken breasts
- Salt and freshly ground black pepper, to taste
For the Breading
- 1 cup all-purpose flour
- 2 large eggs
- 2 tablespoons milk
- 1 cup grated Romano cheese
- 1 cup Italian seasoned breadcrumbs
For Cooking
- 1/4 cup olive oil (or more as needed for frying)
Instructions
- Prepare the Chicken: Place each chicken breast between two sheets of plastic wrap. Pound to about 1/2-inch thickness for even cooking. Season both sides with salt and pepper.
- Set Up the Breading Station: Place the flour in a shallow dish. In a second dish, whisk together the eggs and milk until smooth. In a third dish, combine the grated Romano cheese and breadcrumbs, mixing well.
- Bread the Chicken: Dredge each chicken breast in the flour, shaking off excess. Dip into the egg mixture, coating all over. Finally, press into the breadcrumb-Romano mixture, ensuring each piece is evenly coated and gently pressing so the crust adheres well.
- Fry the Chicken: Heat olive oil over medium heat in a large skillet. Once the oil shimmers, add the chicken. Cook 3–4 minutes per side, or until the crust is golden brown and the chicken is cooked through. Work in batches if needed to avoid crowding the pan.
- Drain and Serve: Transfer the cooked chicken to a paper towel-lined plate. Let rest for 2–3 minutes. Serve hot, optionally with a squeeze of lemon, your favorite pasta, or marinara sauce.
Notes
- Pounding the chicken ensures even cooking and a juicy result.
- Straight Romano cheese gives a sharp flavor—Parmesan may be substituted for a milder touch.
- For extra crunch, let the breaded chicken rest for a few minutes before frying.
- This dish pairs well with angel hair pasta and a light tomato sauce.
Nutrition
- Serving Size: 1 chicken breast
- Calories: 520
- Sugar: 2g
- Sodium: 990mg
- Fat: 26g
- Saturated Fat: 8g
- Unsaturated Fat: 15g
- Trans Fat: 0g
- Carbohydrates: 24g
- Fiber: 1g
- Protein: 52g
- Cholesterol: 175mg


Your email address will not be published. Required fields are marked *