
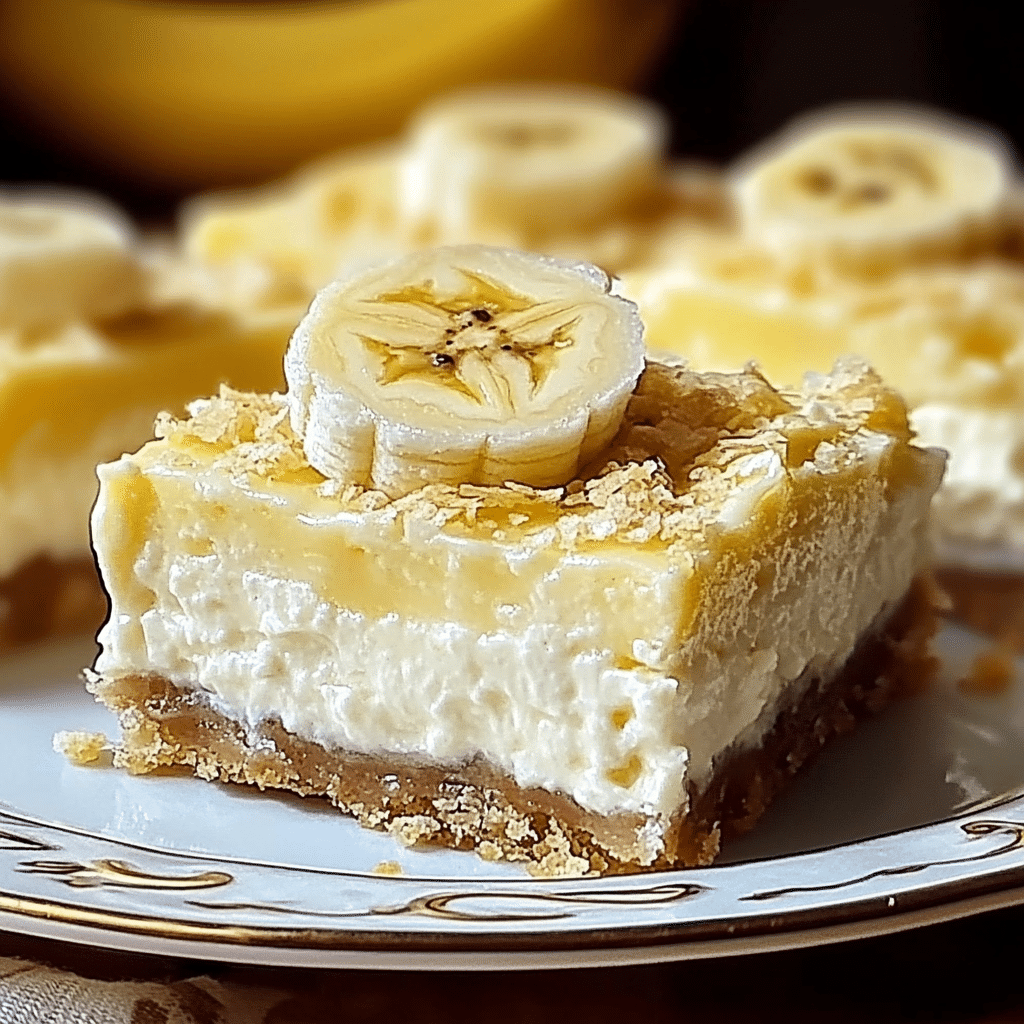
Creamy Banana Pudding Cheesecake Bars combine the classic flavors of banana pudding with the creamy richness of cheesecake, all nestled on a buttery vanilla wafer crust. These delightful bars are perfect for gatherings, family dinners, or whenever you’re craving a dessert that’s both nostalgic and indulgent.
Why You’ll Love This Recipe
- Combines two beloved desserts: banana pudding and cheesecake.
- Easy to serve in bar form, making it perfect for parties or potlucks.
- Smooth, creamy, and packed with real banana flavor.
- The vanilla wafer crust adds a delightful crunch and nostalgic charm.
- Easy to make ahead of time for convenient entertaining.
Ingredients
(Tip: You’ll find the full list of ingredients and measurements in the recipe card below.)
- Vanilla wafer cookies
- Unsalted butter
- Cream cheese
- Granulated sugar
- Eggs
- Mashed ripe bananas
- Vanilla extract
- Instant banana pudding mix
- Milk
- Whipped topping or heavy cream
- Sliced bananas (for garnish)
Directions

- Prepare the Crust:
Preheat your oven and line a baking pan with parchment paper. Crush vanilla wafer cookies into fine crumbs and mix with melted butter. Press the mixture into the bottom of the pan to form the crust. Bake for a few minutes and let it cool. - Make the Cheesecake Layer:
Beat cream cheese and sugar until smooth. Add eggs one at a time, mixing until just combined. Stir in mashed bananas and vanilla extract. Pour the cheesecake mixture over the cooled crust. - Bake the Cheesecake Layer:
Bake until the cheesecake is set but slightly jiggly in the center. Remove from the oven and let it cool completely. - Prepare the Banana Pudding Layer:
Whisk together instant banana pudding mix and milk until thickened. Spread the pudding over the cooled cheesecake layer. - Top and Chill:
Spread whipped topping or freshly whipped cream over the pudding layer. Garnish with sliced bananas and extra vanilla wafer crumbs, if desired. Chill in the refrigerator for several hours or overnight to set. - Serve:
Slice into bars and serve cold.
Servings and Timing
- Servings: 12-16 bars
- Prep Time: 20 minutes
- Cook Time: 40 minutes
- Chill Time: 4-6 hours
- Total Time: 5-7 hours
Variations
- Gluten-Free Option: Use gluten-free vanilla wafers or cookies for the crust.
- Lighter Version: Swap regular cream cheese with reduced-fat cream cheese and use light whipped topping.
- Chocolate Twist: Add a layer of melted chocolate or drizzle chocolate syrup on top for a chocolate-banana combo.
- Nutty Addition: Sprinkle chopped walnuts or pecans on top for added texture.
- Caramel Delight: Drizzle caramel sauce over the whipped topping before serving.
Storage/Reheating
- Refrigeration: Store the bars in an airtight container in the refrigerator for up to 4 days.
- Freezing: Wrap individual bars in plastic wrap and store them in a freezer-safe bag for up to 2 months. Thaw in the refrigerator before serving.
- Reheating: These bars are best enjoyed cold, so reheating is unnecessary.
FAQs
1. Can I make this recipe without bananas?
Yes, but the banana flavor will be absent. You can use vanilla pudding mix for a vanilla cheesecake bar instead.
2. Can I use homemade whipped cream instead of whipped topping?
Absolutely! Freshly whipped cream adds a lovely homemade touch to the dessert.
3. How do I prevent my cheesecake layer from cracking?
Avoid overmixing the batter and bake at a consistent temperature. Allow it to cool gradually.
4. Can I use a graham cracker crust instead of vanilla wafers?
Yes, graham crackers make an excellent alternative for the crust.
5. Can I use banana extract instead of mashed bananas?
Banana extract can be used for flavor, but the mashed bananas add moisture and texture to the cheesecake.
6. How long should I chill the bars?
Chill the bars for at least 4-6 hours or overnight for the best results.
7. Can I make this dessert ahead of time?
Yes, this recipe is perfect for making ahead as it needs time to chill and set.
8. What’s the best way to slice these bars cleanly?
Use a sharp knife and wipe it clean between cuts for neat slices.
9. Can I add other fruits to this recipe?
Yes, strawberries or blueberries make a great addition to the topping.
10. What can I do if my pudding layer is too runny?
Ensure you use the correct amount of milk as indicated on the pudding mix package, and let it thicken before spreading.
Conclusion
Creamy Banana Pudding Cheesecake Bars are a delightful twist on classic desserts, offering layers of flavor and texture in every bite. With their easy preparation and impressive presentation, these bars are sure to become a favorite for any occasion. Try them today and treat yourself to a slice of creamy, nostalgic bliss!
Print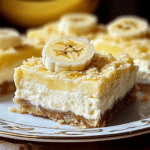
Creamy Banana Pudding Cheesecake Bars
- Prep Time: 20 minutes
- Cook Time: 30 minutes
- Total Time: 4 hours 50 minutes
- Yield: 12 bars 1x
- Category: Dessert
- Method: Baking
- Cuisine: American
- Diet: Vegetarian
Description
These creamy Banana Pudding Cheesecake Bars combine the best of two desserts—banana pudding and cheesecake—into one irresistible treat. With a buttery vanilla wafer crust, a rich cheesecake layer, and a topping of banana pudding and fresh bananas, these bars are perfect for parties, picnics, or just as a sweet indulgence.
Ingredients
For the Crust:
- 2 cups vanilla wafer crumbs (about 50 wafers)
- 1/2 cup unsalted butter, melted
For the Cheesecake Layer:
- 16 oz cream cheese, softened
- 1/2 cup granulated sugar
- 2 large eggs
- 1 teaspoon vanilla extract
For the Banana Pudding Layer:
- 1 package (3.4 oz) instant banana pudding mix
- 2 cups cold milk
- 2 medium ripe bananas, sliced
For Topping (optional):
- 1 cup whipped topping (Cool Whip or homemade)
- Crushed vanilla wafers, for garnish
Instructions
- Prepare the Crust:
- Preheat your oven to 350°F (175°C).
- In a medium bowl, mix the vanilla wafer crumbs with melted butter until well combined.
- Press the mixture firmly into the bottom of a 9×9-inch baking pan lined with parchment paper. Bake for 8–10 minutes, then let it cool.
- Make the Cheesecake Layer:
- In a large bowl, beat the cream cheese and sugar until smooth.
- Add the eggs one at a time, mixing well after each addition. Stir in the vanilla extract.
- Pour the cheesecake mixture over the cooled crust and smooth the top with a spatula.
- Bake for 25–30 minutes or until the edges are set and the center is slightly jiggly. Let it cool completely.
- Prepare the Banana Pudding Layer:
- In a medium bowl, whisk together the banana pudding mix and cold milk until thickened (about 2 minutes).
- Spread the pudding evenly over the cooled cheesecake layer.
- Add the Bananas:
- Arrange the banana slices evenly on top of the pudding layer.
- Finish with Toppings (Optional):
- Spread whipped topping over the bananas and garnish with crushed vanilla wafers.
- Chill and Serve:
- Cover and refrigerate for at least 4 hours or overnight. Cut into bars and serve chilled.
Notes
- For best results, use ripe but firm bananas to avoid excess browning.
- Store leftovers in an airtight container in the refrigerator for up to 3 days.
- If you prefer a stronger banana flavor, add a teaspoon of banana extract to the pudding layer.
Your email address will not be published. Required fields are marked *