
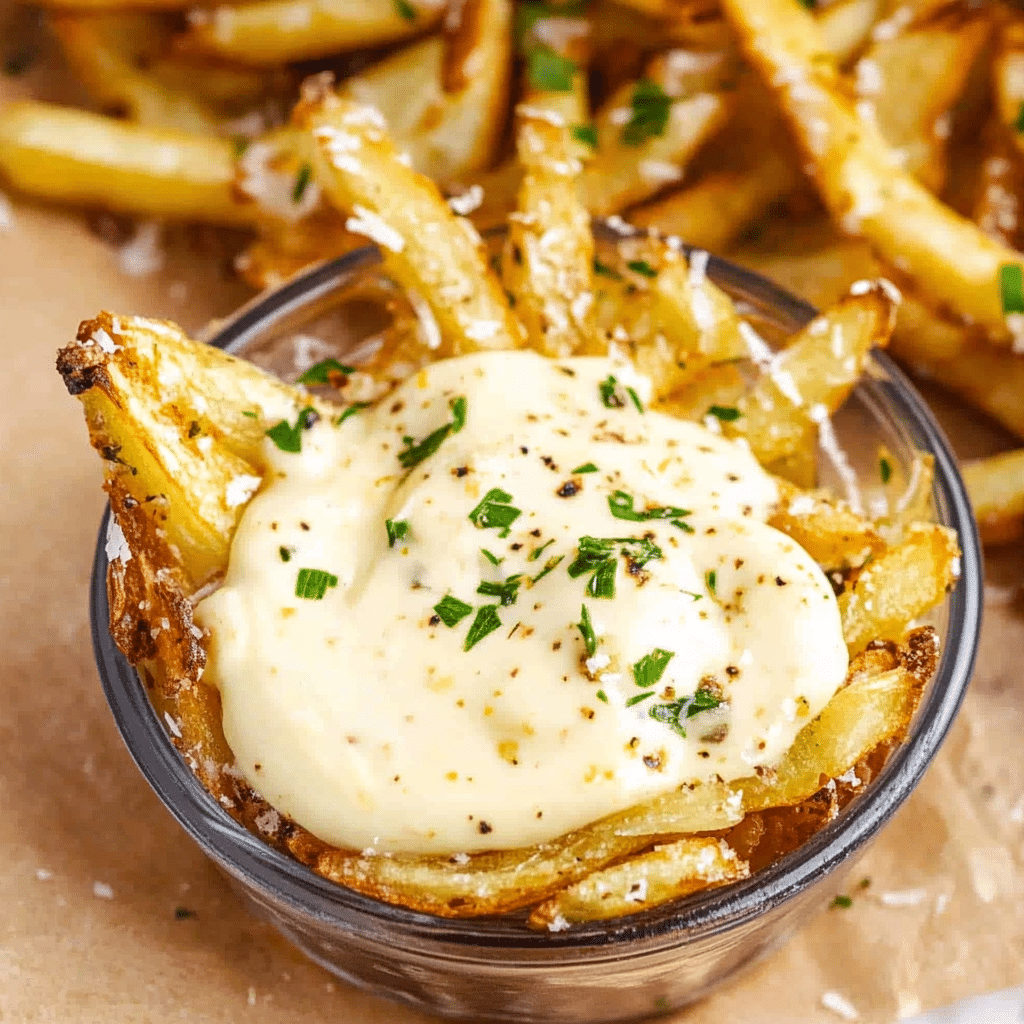
Garlic aioli is a creamy, flavorful condiment that elevates any dish. Made with just a handful of simple ingredients, it’s rich, garlicky, and perfect for spreading, dipping, or drizzling. Whether you’re pairing it with fries, sandwiches, or roasted vegetables, this classic sauce will quickly become a favorite in your kitchen.
Why You’ll Love This Recipe
- Simple Ingredients: Requires pantry staples you probably already have.
- Versatile: Use it as a dip, spread, or topping for a variety of dishes.
- Customizable: Adjust the garlic intensity or add other flavors to suit your taste.
- Quick and Easy: Ready in just a few minutes with minimal effort.
Ingredients
(Tip: You’ll find the full list of ingredients and measurements in the recipe card below.)
- Garlic cloves
- Egg yolk
- Lemon juice
- Dijon mustard
- Olive oil (or a mix of olive oil and neutral oil)
- Salt
Directions

- Prepare the Garlic: Peel and finely mince the garlic. For a smoother texture, you can use a mortar and pestle or grate the garlic into a paste.
- Combine the Base Ingredients: In a bowl, whisk together the egg yolk, lemon juice, and Dijon mustard until smooth.
- Emulsify: Slowly drizzle in the oil, starting with just a few drops at a time, while whisking continuously. Gradually increase the oil flow as the mixture begins to thicken.
- Add Garlic and Seasoning: Stir in the garlic paste and season with salt to taste. Adjust the lemon juice if desired.
- Serve: Use immediately or refrigerate for later use.
Servings and Timing
- Servings: This recipe makes approximately 1 cup of garlic aioli, enough for 6–8 servings depending on use.
- Prep Time: 5 minutes
- Cook Time: None
- Total Time: 5 minutes
Variations
- Spicy Garlic Aioli: Add a pinch of cayenne pepper or a dash of hot sauce.
- Herbed Aioli: Stir in fresh chopped herbs like parsley, basil, or dill.
- Roasted Garlic Aioli: Substitute raw garlic with roasted garlic for a milder, sweeter flavor.
- Vegan Version: Use aquafaba (chickpea water) instead of egg yolk.
Storage/Reheating
- Storage: Store garlic aioli in an airtight container in the refrigerator for up to 3–4 days.
- Reheating: Garlic aioli is best served cold or at room temperature. If it separates, whisk it back together before serving.
FAQs
What is garlic aioli made of?
Garlic aioli is made from garlic, egg yolk, lemon juice, oil, and salt. It’s essentially a garlicky mayonnaise.
Can I use store-bought mayonnaise instead of making it from scratch?
Yes, you can mix minced garlic and lemon juice into store-bought mayonnaise for a quick shortcut version.
How do I avoid my aioli from breaking?
Ensure the oil is added very slowly while whisking continuously to maintain a stable emulsion.
Is garlic aioli gluten-free?
Yes, this recipe is naturally gluten-free.
Can I use a food processor to make aioli?
Absolutely! A food processor can make emulsifying easier and faster.
How do I roast garlic for aioli?
Wrap garlic cloves in foil, drizzle with olive oil, and roast at 400°F (200°C) for 25–30 minutes until soft and caramelized.
Can I use different oils?
Yes, you can use a blend of olive oil and a neutral oil like canola or grapeseed to balance the flavor.
Is aioli the same as mayonnaise?
While similar, aioli traditionally relies on garlic and olive oil, whereas mayonnaise may not include garlic and often uses neutral oils.
What can I pair with garlic aioli?
Garlic aioli pairs wonderfully with fries, roasted vegetables, grilled meats, seafood, or as a sandwich spread.
Can I freeze garlic aioli?
No, aioli doesn’t freeze well as the emulsion tends to break when thawed.
Conclusion
Garlic aioli is a classic, flavorful condiment that adds a gourmet touch to any meal. With its creamy texture and robust flavor, this easy recipe is a must-try for food enthusiasts. Whether you’re using it as a dip, spread, or sauce, garlic aioli will take your dishes to the next level. Give it a try and enjoy its versatile charm!
Print
Garlic Aioli Recipe
- Prep Time: 5 minutes
- Cook Time: 0 minutes
- Total Time: 5 minutes
- Yield: Serves 8
- Category: Condiment
- Method: No-Cook
- Cuisine: Mediterranean
- Diet: Vegetarian
Description
Garlic aioli is a creamy, garlicky sauce perfect for dipping fries, spreading on sandwiches, or drizzling over roasted vegetables. This simple recipe uses just a few ingredients and comes together quickly for a versatile condiment that elevates any dish.
Ingredients
- 2 large garlic cloves, minced
- 1 cup mayonnaise
- 1 tablespoon fresh lemon juice
- 1 teaspoon Dijon mustard
- 1/4 teaspoon salt (adjust to taste)
- 1/8 teaspoon black pepper
Instructions
- In a small bowl, combine the minced garlic and salt. Use the back of a spoon to mash the garlic into a paste.
- Add mayonnaise, lemon juice, Dijon mustard, and black pepper to the bowl.
- Whisk the ingredients together until smooth and well combined.
- Taste and adjust seasoning, adding more salt or lemon juice as needed.
- Cover and refrigerate for at least 30 minutes to allow the flavors to meld.
- Serve as a dip, spread, or drizzle. Enjoy!
Notes
- For a stronger garlic flavor, use more garlic or let the aioli sit longer before serving.
- Substitute olive oil for mayonnaise if you want a more traditional aioli, but the texture will change.
- Store in an airtight container in the refrigerator for up to one week.
Your email address will not be published. Required fields are marked *