
Why You’ll Love This Recipe
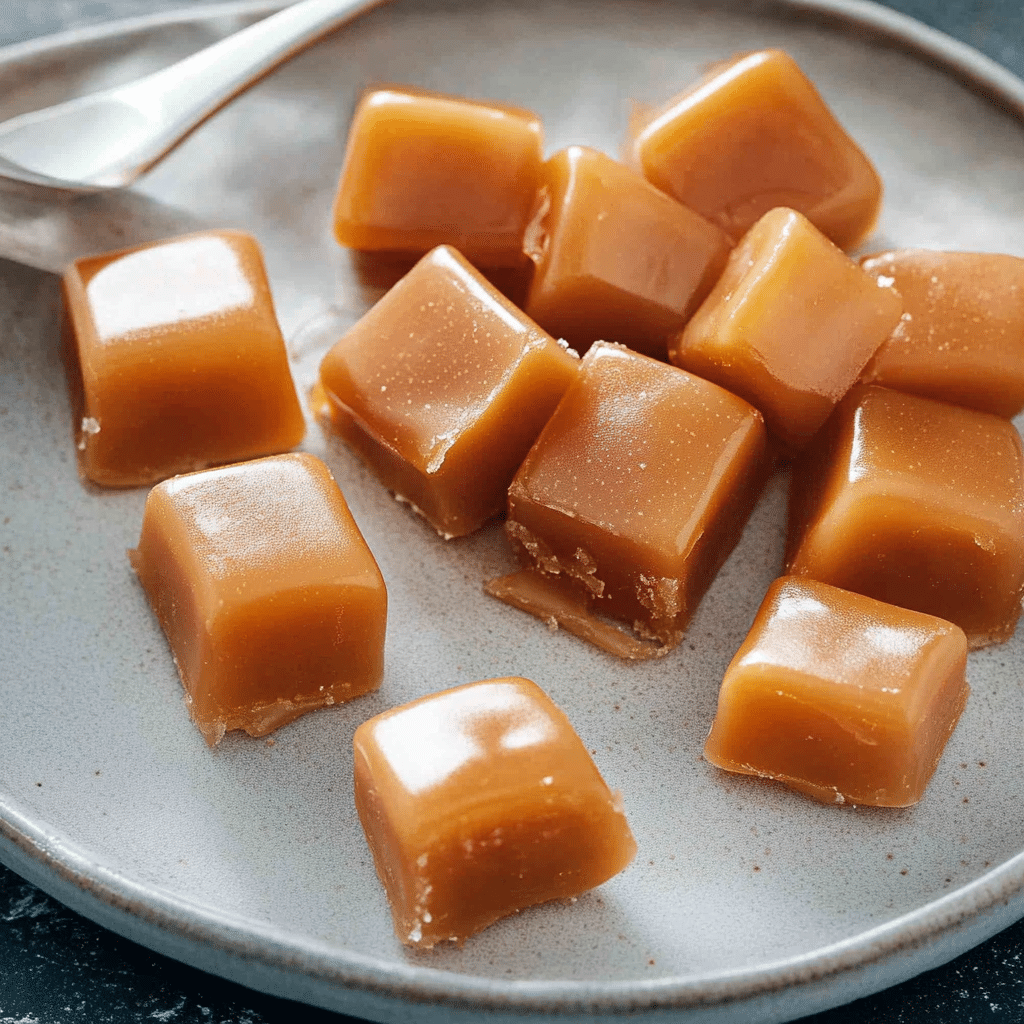
Homemade caramels are rich, buttery, and melt-in-your-mouth delicious. They have the perfect balance of sweetness and chewiness, making them an irresistible treat for any occasion. Unlike store-bought versions, homemade caramels allow you to control the ingredients, ensuring a fresh and natural taste. Plus, they make for a wonderful homemade gift during the holidays or special events.
Ingredients
(Tip: You’ll find the full list of ingredients and measurements in the recipe card below.)
- Granulated sugar
- Light corn syrup
- Unsalted butter
- Heavy cream
- Sweetened condensed milk
- Vanilla extract
- Salt
Directions

- Prepare Your Pan – Line an 8×8-inch baking dish with parchment paper and lightly grease it to prevent sticking.
- Heat the Sugar Mixture – In a heavy-bottomed saucepan, combine granulated sugar, corn syrup, and a small amount of water. Cook over medium heat, stirring until the sugar dissolves.
- Add Butter and Cream – Once the mixture turns a golden amber color, carefully add the butter, heavy cream, and sweetened condensed milk. Stir continuously.
- Cook to Temperature – Using a candy thermometer, continue cooking until the mixture reaches 240°F (soft-ball stage). Stir occasionally to prevent burning.
- Remove from Heat and Add Flavoring – Take the saucepan off the heat and stir in vanilla extract and a pinch of salt.
- Pour and Cool – Pour the caramel mixture into the prepared pan, spreading evenly. Let it cool at room temperature for at least 2 hours.
- Cut and Wrap – Once fully set, use a sharp knife to cut the caramel into small squares. Wrap each piece in wax paper for storage.
Servings and Timing
- Servings: Approximately 50 caramels
- Preparation Time: 10 minutes
- Cooking Time: 30 minutes
- Cooling Time: 2 hours
Variations
- Sea Salt Caramels – Sprinkle flaky sea salt on top before cooling for a sweet-salty balance.
- Chocolate-Dipped Caramels – Dip cooled caramel squares in melted chocolate for an indulgent treat.
- Nutty Caramels – Stir in chopped pecans, almonds, or walnuts for added crunch.
- Spiced Caramels – Add cinnamon or a pinch of cayenne for a unique twist.
Storage/Reheating
- Room Temperature: Store wrapped caramels in an airtight container for up to two weeks.
- Refrigeration: Keep in the fridge for up to one month; bring to room temperature before eating.
- Freezing: Freeze for up to three months in a sealed container. Thaw at room temperature before serving.
FAQs
How do I prevent my caramel from being too hard?
Cook the caramel to exactly 240°F (soft-ball stage). Overcooking will result in hard caramels.
Can I make caramels without a candy thermometer?
While possible, a thermometer ensures accuracy. You can use the cold water test—drop a bit of caramel into ice water; it should form a soft ball.
Why did my caramel turn grainy?
Grainy caramel occurs if sugar crystallizes. To prevent this, avoid stirring once the sugar dissolves, and use corn syrup to stabilize it.
Can I use salted butter instead of unsalted?
Yes, but reduce or omit the added salt to maintain balance.
How do I clean a pan with hardened caramel?
Fill the pan with hot water and let it soak. The caramel will dissolve, making it easy to clean.
Can I double the recipe?
Yes, but use a larger saucepan to prevent overflow and adjust cooking time as needed.
What’s the best way to wrap homemade caramels?
Use wax paper or cellophane to keep them from sticking together.
Can I flavor my caramels differently?
Absolutely! Try adding extracts like almond or maple for different flavors.
How do I make softer caramels?
Cook to a slightly lower temperature, around 235°F, for a softer texture.
Can I use honey instead of corn syrup?
Yes, but it will slightly change the flavor and texture.
Conclusion
Homemade caramels are a delightful treat that is surprisingly easy to make. With just a few simple ingredients and the right technique, you can create buttery, chewy candies perfect for gifting or enjoying yourself. Try different variations to customize them to your taste, and store them properly to enjoy for weeks!
Print
Homemade Caramels
- Prep Time: 5 minutes
- Cook Time: 15 minutes
- Total Time: 20 minutes (plus cooling time)
- Yield: About 64 small caramels 1x
- Category: Candy & Treats
- Method: Stovetop
- Cuisine: American
- Diet: Vegetarian
Description
These homemade caramels are rich, buttery, and melt-in-your-mouth delicious. Made with just a few simple ingredients, they have the perfect balance of sweetness and chewiness. Great for gifting or enjoying as a treat!
Ingredients
- 1 cup (2 sticks) unsalted butter
- 2 1/4 cups packed brown sugar
- 1 cup light corn syrup
- 1 (14-ounce) can sweetened condensed milk
- 1 teaspoon vanilla extract
- 1/4 teaspoon salt
- Optional: Flaky sea salt for topping
Instructions
- Prepare the pan: Line an 8×8-inch or 9×9-inch baking dish with parchment paper and lightly grease it with butter or cooking spray.
- Heat the butter and sugar: In a heavy-bottomed saucepan over medium heat, melt the butter. Stir in the brown sugar, corn syrup, and salt. Mix well.
- Add condensed milk: Slowly pour in the sweetened condensed milk, stirring continuously.
- Cook the caramel: Attach a candy thermometer to the side of the pan. Bring the mixture to a gentle boil, stirring frequently. Cook until the thermometer reads 240°F (soft-ball stage). This takes about 10-15 minutes.
- Add vanilla & pour: Remove the caramel from heat and stir in the vanilla extract. Immediately pour the mixture into the prepared pan.
- Cool & cut: Let the caramel cool at room temperature for 2-3 hours or until firm. Once set, lift it out using the parchment paper and cut it into small squares.
- Wrap & store: Wrap each caramel in wax paper and store at room temperature for up to 2 weeks.
Notes
- If you prefer salted caramels, sprinkle flaky sea salt on top before the caramel fully sets.
- Store in an airtight container to prevent sticking.
- If you don’t have a candy thermometer, use the cold water test: Drop a small spoonful of caramel into ice water—if it forms a soft, pliable ball, it’s ready!
Your email address will not be published. Required fields are marked *