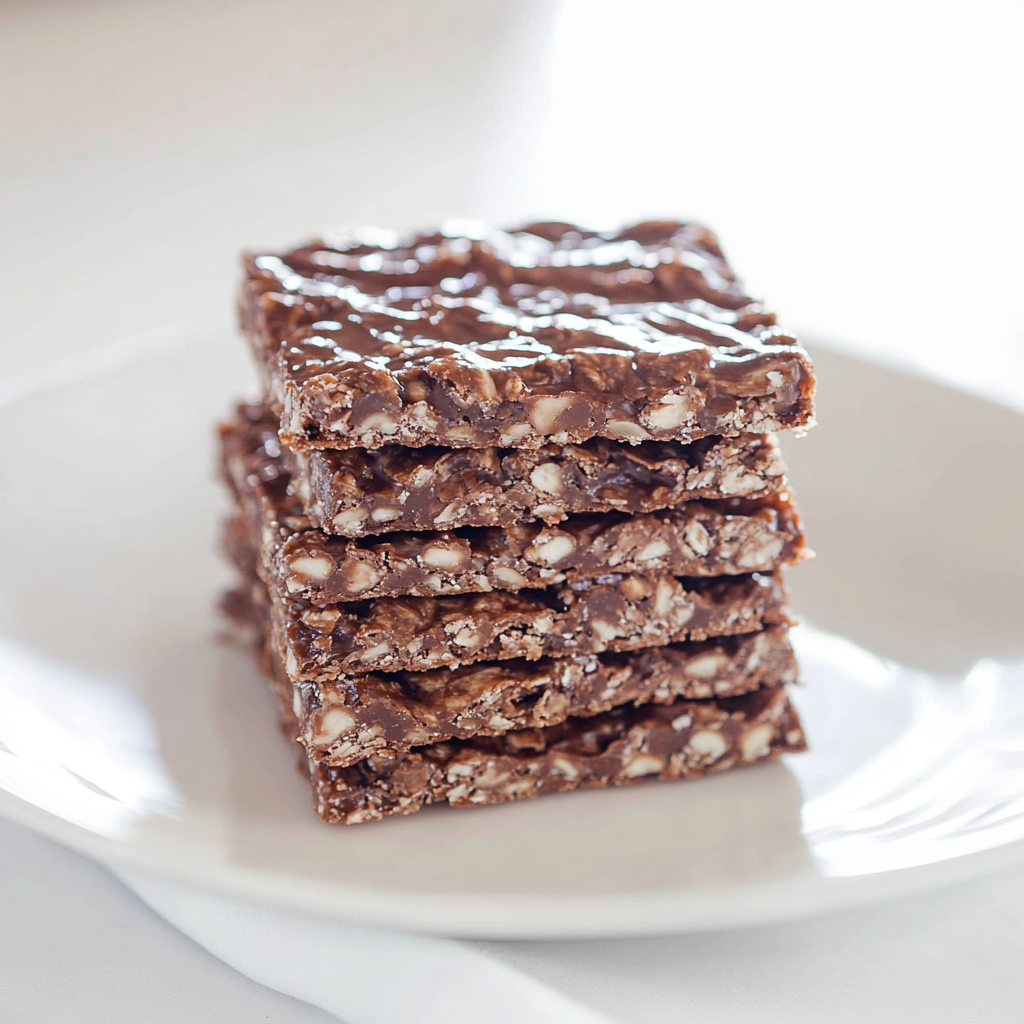
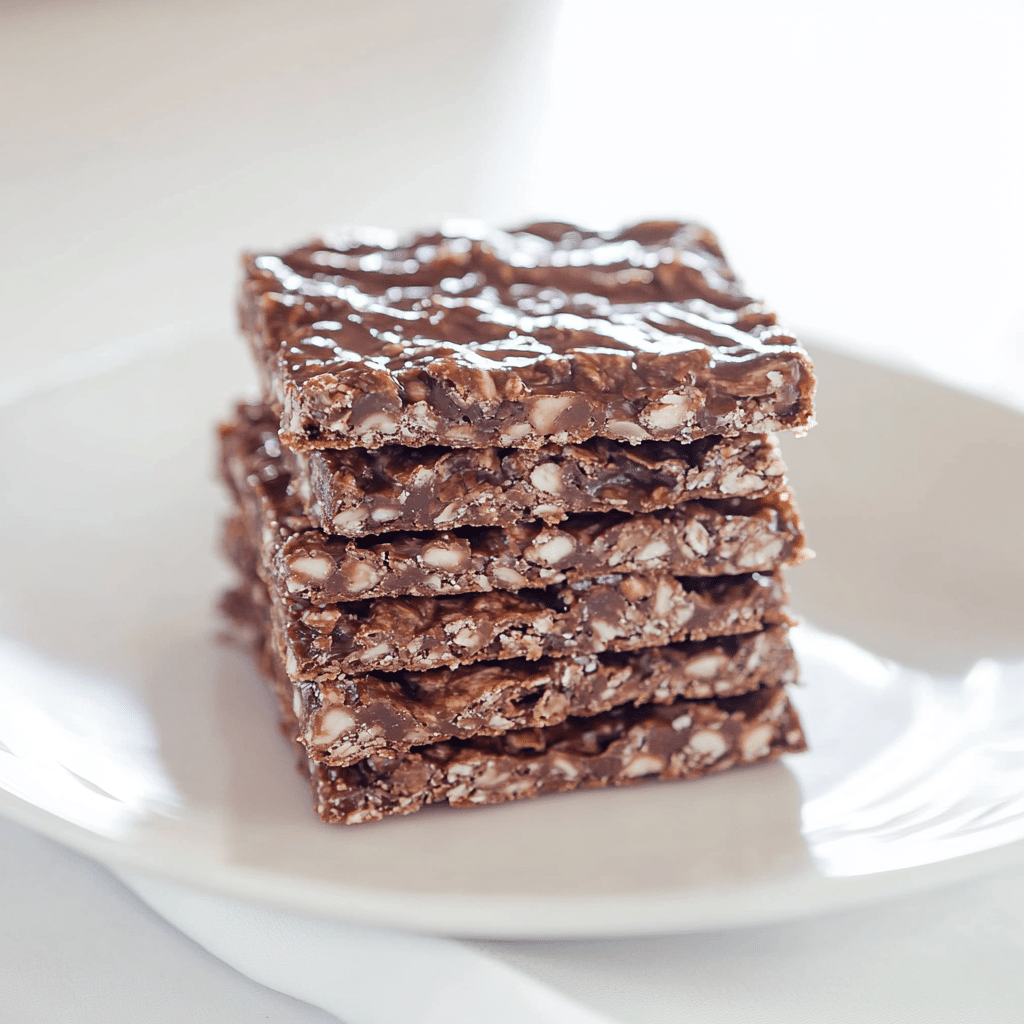
These homemade crunch bars are a delightful and easy treat, perfect for satisfying your sweet tooth with minimal effort. Made with just a few simple ingredients, they deliver a satisfying crunch and a rich, chocolatey flavor that rivals any store-bought candy bar. Whether you’re looking for a nostalgic snack or a quick dessert, these bars are sure to please!
Why You’ll Love This Recipe
- Quick and Easy: With minimal prep time, these crunch bars come together in a snap.
- Customizable: Add your favorite mix-ins like nuts or dried fruit for a personal twist.
- Healthier Option: Control the quality of ingredients for a more wholesome treat.
- Budget-Friendly: Skip the expensive candy aisle and make your own at home.
- Perfect for Sharing: Great for parties, gifting, or just treating yourself!
Ingredients
(Tip: You’ll find the full list of ingredients and measurements in the recipe card below.)
- Semi-sweet or milk chocolate chips
- Crispy rice cereal
- Optional: sea salt or vanilla extract for enhanced flavor
Directions
- Melt the Chocolate: In a microwave-safe bowl, melt the chocolate chips in 30-second increments, stirring between each session, until smooth and creamy. Alternatively, use a double boiler.
- Mix in the Cereal: Gently fold the crispy rice cereal into the melted chocolate until evenly coated.
- Spread and Chill: Pour the mixture into a parchment-lined baking dish and spread it evenly. Press lightly to ensure the cereal sticks together.
- Set the Bars: Refrigerate for at least 1 hour or until firm.
- Cut and Serve: Remove from the fridge, slice into bars, and enjoy!
Servings and Timing
- Servings: This recipe yields approximately 12 bars, depending on how you cut them.
- Prep Time: 10 minutes
- Chilling Time: 1 hour
Variations
- Nutty Crunch Bars: Add chopped peanuts, almonds, or hazelnuts for extra crunch.
- Dark Chocolate Lovers: Use dark chocolate chips for a richer flavor.
- Festive Touch: Mix in sprinkles or colored candy for special occasions.
- Sweet-Salty Combo: Sprinkle sea salt on top before chilling.
- Healthier Twist: Use organic chocolate and whole-grain cereal.
Storage/Reheating
- Storage: Store the bars in an airtight container in the refrigerator for up to 2 weeks.
- Reheating: These bars don’t require reheating, but you can let them sit at room temperature for a few minutes to soften slightly before serving.
FAQs
How do I prevent the chocolate from burning while melting?
Melt the chocolate in short intervals in the microwave or use a double boiler for gentle, even heat.
Can I use white chocolate for this recipe?
Yes, white chocolate works well and adds a sweeter flavor profile.
What kind of cereal is best for this recipe?
Crispy rice cereal, like Rice Krispies, is the classic choice for crunch bars.
Can I make this recipe vegan?
Absolutely! Use dairy-free chocolate chips and ensure the cereal is vegan-friendly.
Can I freeze these bars?
Yes, you can freeze them for up to 3 months. Wrap them tightly and store in a freezer-safe container.
What if I don’t have parchment paper?
You can use aluminum foil lightly greased with oil or cooking spray as an alternative.
How do I cut the bars neatly?
Use a sharp knife, and warm it slightly under hot water before slicing for cleaner cuts.
Can I add flavors like mint or orange?
Yes, a few drops of mint or orange extract can enhance the flavor.
Are these bars gluten-free?
Check the cereal packaging to ensure it’s labeled gluten-free, and use gluten-free chocolate chips if needed.
Can I make these bars in advance?
Definitely! These bars store well and can be made a day or two ahead of time.
Conclusion
Homemade crunch bars are a simple, crowd-pleasing dessert or snack that’s easy to customize to your liking. Whether you’re preparing a quick treat for a party or indulging in a nostalgic moment, these bars deliver every time. Try them today and rediscover the joy of homemade confections!
Print
Homemade Crunch Bars
- Prep Time: 10 minutes
- Cook Time: 0 minutes
- Total Time: 1 hour 10 minutes
- Yield: 12 bars 1x
- Category: Dessert
- Method: No-Bake
- Cuisine: American
- Diet: Vegetarian
Description
These homemade crunch bars are a delicious and easy-to-make treat that combines creamy chocolate with the satisfying crunch of crispy rice cereal. Perfect for snacking, gifting, or satisfying your sweet tooth, these no-bake bars are quick, fun, and require only three ingredients.
Ingredients
- 2 cups semisweet chocolate chips (or milk chocolate chips, if preferred)
- 1 tablespoon coconut oil (optional, for smoother chocolate)
- 2 cups crispy rice cereal
Instructions
- Prepare the pan: Line an 8×8-inch square baking dish with parchment paper, leaving some overhang for easy removal.
- Melt the chocolate: In a microwave-safe bowl, combine the chocolate chips and coconut oil (if using). Heat in 30-second intervals, stirring after each, until smooth and fully melted.
- Combine with cereal: Add the crispy rice cereal to the melted chocolate and gently fold until the cereal is evenly coated.
- Assemble: Pour the mixture into the prepared pan and spread it evenly, pressing lightly to compact it.
- Chill: Place the pan in the refrigerator and let the bars set for 1–2 hours, or until firm.
- Cut and serve: Once set, lift the bars out using the parchment paper overhang and cut into squares or rectangles. Enjoy!
Notes
- For extra flavor, consider adding a pinch of salt or a teaspoon of vanilla extract to the melted chocolate.
- You can use dark chocolate or white chocolate for variations.
- Store in an airtight container in the refrigerator for up to 1 week.


Your email address will not be published. Required fields are marked *