If you’ve ever dreamed of baking bread with a tangy, crusty character and that irresistible “I made it myself” magic, then Sourdough Starter is the gateway to a whole new world of kitchen adventure. This living mixture of flour and water is the secret behind those perfectly chewy loaves with golden crackly crusts, and it’s honestly more fun and rewarding than you might expect. Making your own Sourdough Starter connects you to centuries of bakers who have tended, stirred, and cherished this bubbling, wild symphony of yeast and bacteria—bringing unmistakable flavor to sourdough bread and countless baked treats.
Ingredients You’ll Need
Creating a great Sourdough Starter truly starts with the basics: the right flour and water make all the difference. Each ingredient has a specific role in nurturing the wild yeasts and bacteria that will bring your starter to life—flour for food, water for hydration, and a glass jar for monitoring that intriguing daily transformation.
- Unbleached All-Purpose Flour: The best foundation for your Sourdough Starter, rich in the natural microorganisms needed to jumpstart fermentation.
- Whole Wheat Flour: Adds extra nutrients and wild yeasts for a faster, more robust start—just a bit is all you need.
- Filtered or Spring Water: Chlorine can hinder fermentation, so use clean, non-chlorinated water to keep your starter happy and healthy.
- Large Glass Jar or Bowl: A clear container helps you keep an eye on those lovely bubbles and track your Sourdough Starter’s progress.
- Loose-fitting Lid or Cloth: Allows the starter to breathe while keeping out dust or curious insects.
How to Make Sourdough Starter
Step 1: Mix Your First Batch
In your clean glass jar, stir together 1/2 cup unbleached all-purpose flour, 1/2 cup whole wheat flour, and 1/2 cup filtered water. Mix until everything is fully combined into a smooth paste. Cover loosely with a lid or a cloth, and leave the jar on your kitchen counter, out of direct sunlight. This is the first step to activating the wild yeast and letting nature work its magic!
Step 2: Watch and Wait
Allow your new Sourdough Starter to sit at room temperature for the first 24 hours. During this time, you might catch a few bubbles forming—that’s a very good sign. Don’t worry if things seem quiet at first; sometimes the wild yeasts need a little encouragement. The wait is key, so give your starter a full day to settle in and start developing flavor.
Step 3: Daily Feeding Ritual
Remove about half of your starter and discard it (or use it in pancakes!). Add 1/2 cup unbleached flour and 1/2 cup filtered water to the jar. Stir well, cover again, and let it rest at room temperature. This “feeding” process brings fresh nourishment and helps your Sourdough Starter flourish with bubbly, tangy energy. Repeat this process every day for the next 5 to 7 days.
Step 4: Look for Signs of Life
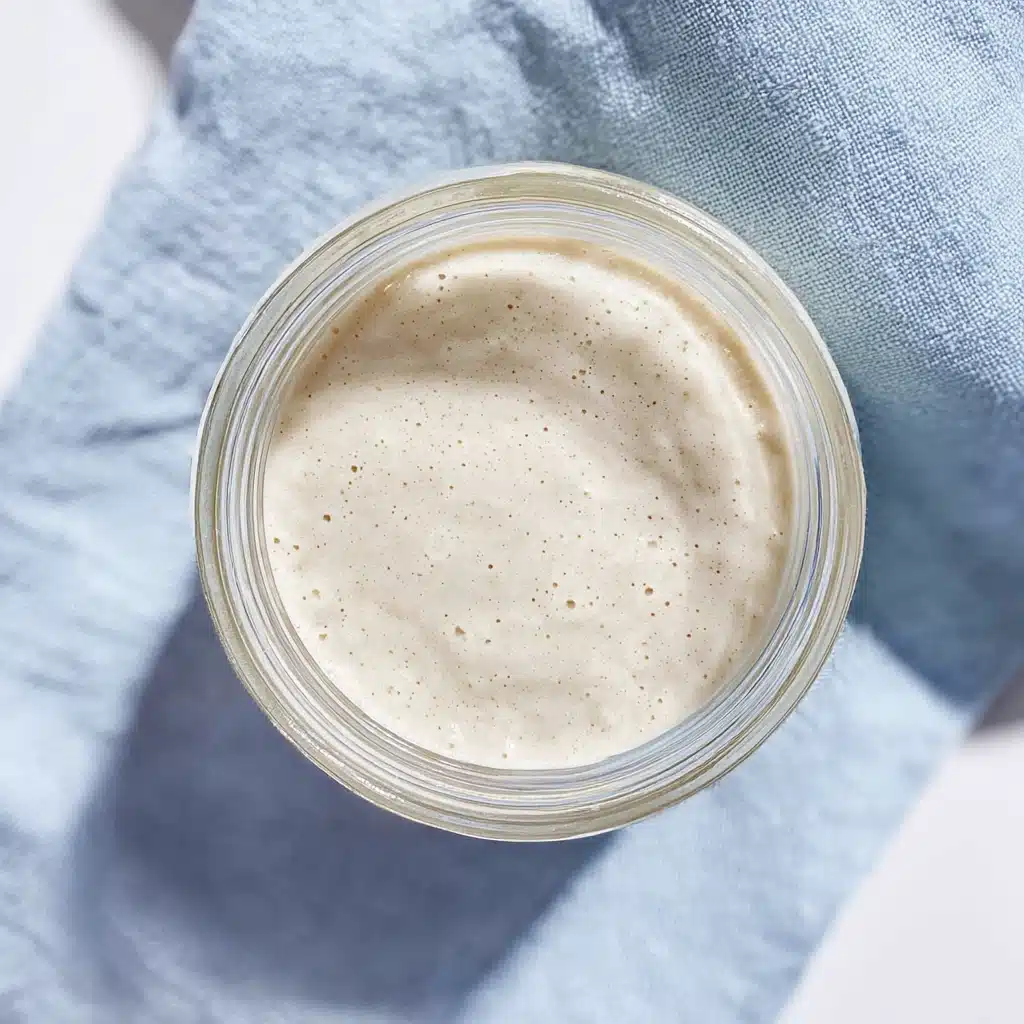
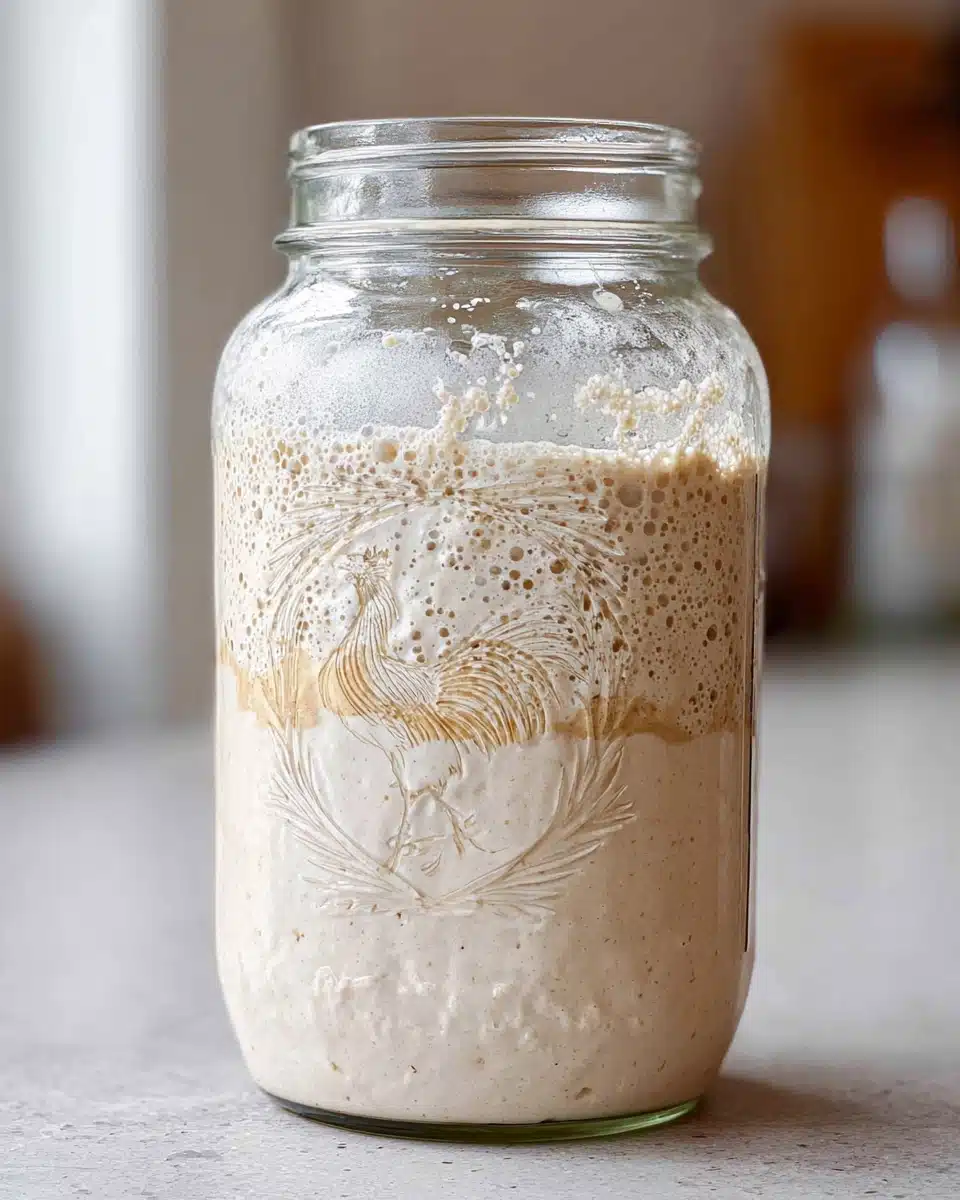
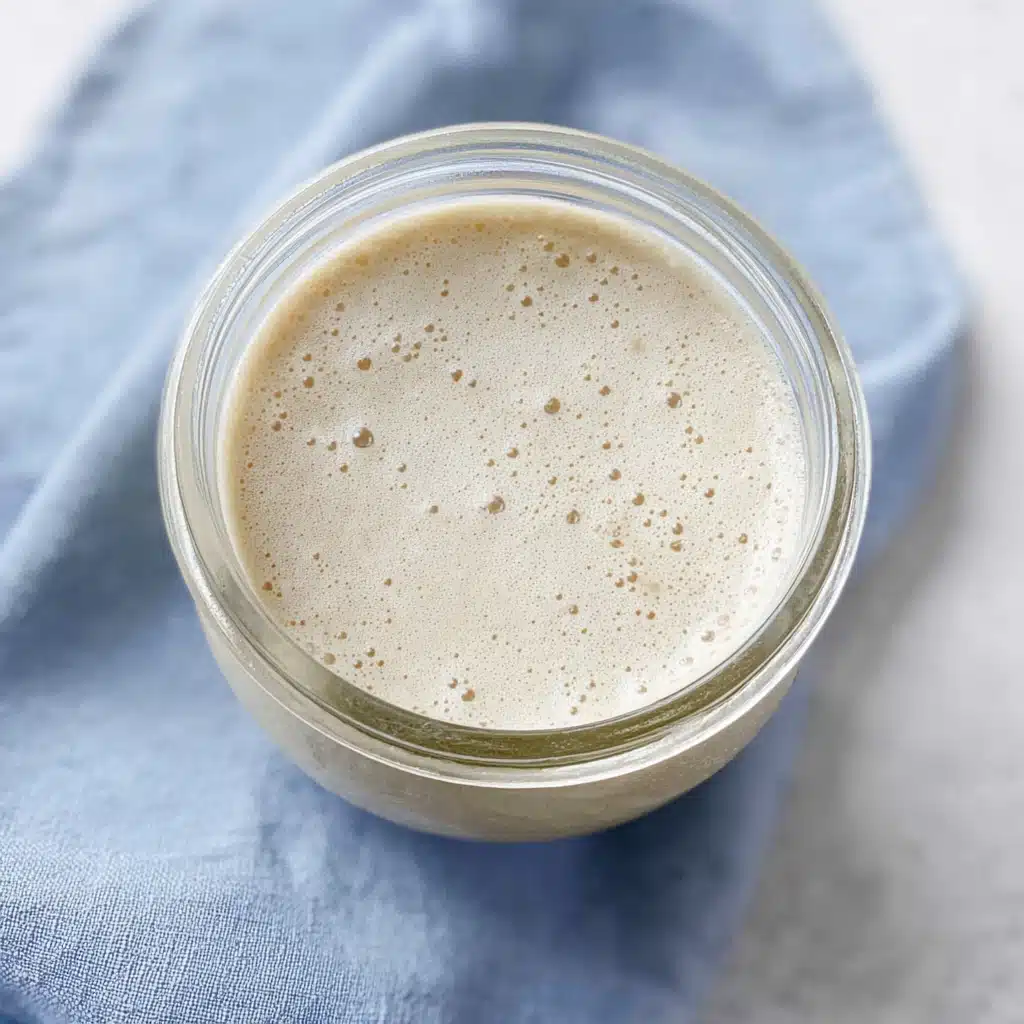
As your Sourdough Starter matures, you’ll notice lots of bubbles, a pleasantly tangy aroma, and maybe even some rising and falling action in the jar. By day 5 or 6, your starter should double in size within about 4–6 hours of feeding—this signals it’s strong enough to bake bread. If it’s sluggish, just keep feeding daily until you see the right signs.
Step 5: Ready to Use or Store
Once your Sourdough Starter is reliably bubbly and rising, it’s officially ready! You can use it right away in your favorite bread recipes or pop it in the refrigerator to slow its fermentation if you don’t plan to bake immediately. Don’t forget to feed it once a week to keep it thriving for countless baking adventures ahead!
How to Serve Sourdough Starter

Garnishes
Believe it or not, even a humble Sourdough Starter can shine when served with a flourish. For your first bake, sprinkle your finished loaf with flaky sea salt, sesame seeds, or fresh rosemary right before baking—the perfect finishing touch that adds both flavor and visual appeal.
Side Dishes
Pair a warm, crusty loaf (born from your Sourdough Starter) with simple sides like herbed butter, sharp cheeses, or a tangy homemade soup. These accents highlight the unique sour notes and chewy crumb, transforming a humble meal into something truly special.
Creative Ways to Present
Serve thick, toasted slices with a selection of dips or as the foundation for gourmet open-faced sandwiches. For a brunch spread, consider mini sourdough rolls or croutons made from your starter dough—everyone will be impressed with your creativity and the starter’s versatility!
Make Ahead and Storage
Storing Leftovers
Keep your Sourdough Starter in the fridge with a loosely fitted lid when you’re not baking often. A weekly feeding keeps it lively, and if you ever spot a bit of liquid (“hooch”) on top, just stir it in or pour it off before your next feeding session.
Freezing
If you know you won’t use your Sourdough Starter for a while, you can freeze a portion in a zip-top bag. Thaw it at room temperature and revive with daily feedings for a few days before baking—it’s a handy trick for extended breaks!
Reheating
No need to reheat your Sourdough Starter but always bring it up to room temperature before baking to ensure it’s active and awake. If your starter seems sluggish after a fridge nap, give it a few extra feedings at room temperature to perk it right back up.
FAQs
Why does my Sourdough Starter smell so sour?
A tangy aroma is a good sign—natural yeasts and lactic acid bacteria give your Sourdough Starter its telltale smell. If it smells unpleasantly strong, just discard and feed as usual; most issues fix themselves with regular nurturing.
Can I use whole wheat or rye flour instead of all-purpose?
Absolutely, whole wheat and rye flours actually encourage even more wild yeast in your Sourdough Starter. Feel free to experiment, but make sure to keep the ratio of flour to water about the same for the right consistency.
What if my Sourdough Starter isn’t bubbling after a few days?
Don’t worry! Sometimes it takes a bit longer depending on your kitchen’s temperature and the flour’s microbiome. Keep feeding daily and try switching to warmer spots or using a bit more whole wheat flour for a boost.
Does my Sourdough Starter need to rest before baking?
It helps to feed your starter 4–6 hours before you plan to use it, so it’s especially lively and bubbly. This ensures the best rise and flavor in your final dough.
How can I tell if my Sourdough Starter has gone bad?
Trust your senses: if you see pink, orange, or fuzzy mold, or if it smells rotten or like nail polish remover, it’s best to start over. Regular feeding and a clean jar prevent most problems.
Final Thoughts
Inviting a bubbling Sourdough Starter into your kitchen is like making a new friend who never stops surprising you. Whether you aspire to artisan bread or just want to dip your toes into wild fermentation, there’s genuine joy in nurturing your own starter. I can’t recommend it enough—once you try it, you’ll wonder why you waited so long!
Print
Sourdough Starter Recipe
- Prep Time: 10 minutes (active) + 5-7 days fermentation
- Cook Time: 0 minutes
- Total Time: 5-7 days
- Yield: 1 sourdough starter (makes enough for multiple loaves) 1x
- Category: Bread
- Method: No-cook
- Cuisine: American, European
- Diet: Vegan
Description
Master the art of sourdough baking from scratch by learning how to create a healthy, bubbly sourdough starter. This recipe guides you step-by-step through cultivating natural wild yeast, ensuring your breads have the signature tangy flavor and robust structure that only sourdough can provide.
Ingredients
For the Sourdough Starter
- 1 cup (120g) unbleached all-purpose flour (plus more as needed for feedings)
- 1/2 cup (120ml) filtered or spring water (plus more as needed for feedings)
For Ongoing Feedings
- 1/2 cup (60g) unbleached all-purpose flour
- 1/4 cup (60ml) filtered or spring water
Instructions
- Mix Initial Ingredients: In a clean glass jar or container, combine 1 cup (120g) of unbleached all-purpose flour with 1/2 cup (120ml) of filtered or spring water. Stir until you have a thick, sticky dough with no dry flour streaks. Loosely cover the jar with a lid or plastic wrap and let it sit at room temperature for 24 hours.
- First Feeding: After 24 hours, you may see a few bubbles forming. Discard half of the starter (about 1/2 cup), and feed the remaining starter with 1/2 cup (60g) of flour and 1/4 cup (60ml) of water. Stir well. Cover loosely and allow it to rest at room temperature for another 24 hours.
- Continue Daily Feedings: Repeat the feeding process every 24 hours: discard half of the starter, then add 1/2 cup flour and 1/4 cup water. Mix thoroughly after each feeding, and keep the container loosely covered.
- Look for Activity: By day 3 or 4, your starter should show more bubbles, a yeasty aroma, and begin to rise and fall. Continue daily feedings and keep it in a warm spot (70-75°F/21-24°C if possible).
- Starter is Ready: Around day 5-7, your starter should double in size within 4–6 hours after feeding and have a pleasantly tangy smell. At this point, it’s active and ready to use in your favorite sourdough bread recipes.
- Maintenance: If not baking daily, store the starter in the refrigerator and feed it once a week. Always bring to room temperature and feed before using in recipes.
Notes
- Use unbleached all-purpose flour for more consistent results, though whole wheat flour can help jumpstart fermentation.
- Always use filtered or spring water; chlorine in tap water can discourage wild yeast growth.
- If the starter develops any pink, red, or orange spots or an unpleasant smell, discard and restart.
- Storage containers should be clean but not airtight, as the yeast needs to breathe.
- The starter may take longer to develop in cooler temperatures; be patient and keep feeding daily.
Nutrition
- Serving Size: 1 tablespoon (15g)
- Calories: 25
- Sugar: 0g
- Sodium: 0mg
- Fat: 0g
- Saturated Fat: 0g
- Unsaturated Fat: 0g
- Trans Fat: 0g
- Carbohydrates: 6g
- Fiber: 0g
- Protein: 1g
- Cholesterol: 0mg


Your email address will not be published. Required fields are marked *